
Larry’s U.S. Spacecraft Models
|
Larry Z. Daily’s Personal Page Larry’s U.S. Spacecraft Models |
| Like most guys my age, I grew up during the Space Race and dreamed of being an
astronaut. So, it’s not really a surprise that I like to build models of U.S. spacecraft. |
 |
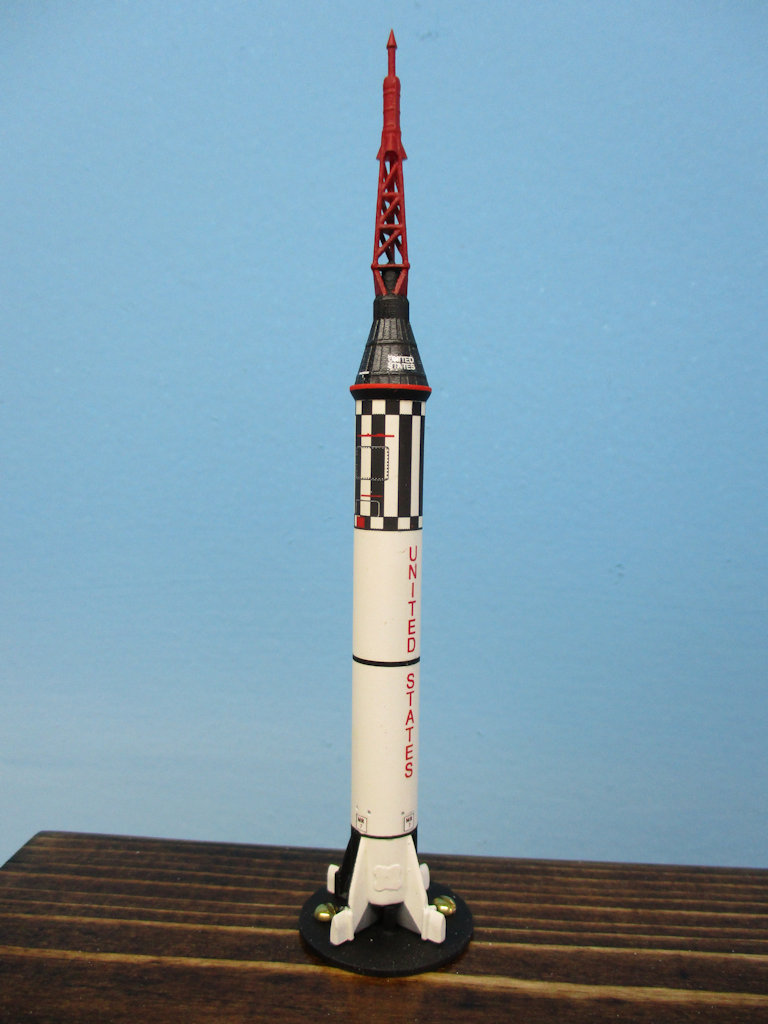
(1) This model was built using the old Revell 1/48 scale kit and Real Space
Models 1/48 scale Mercury detail set. I marked it as Friendship 7. The photo of Earth from orbit was
taken during John Glenn’s flight. |
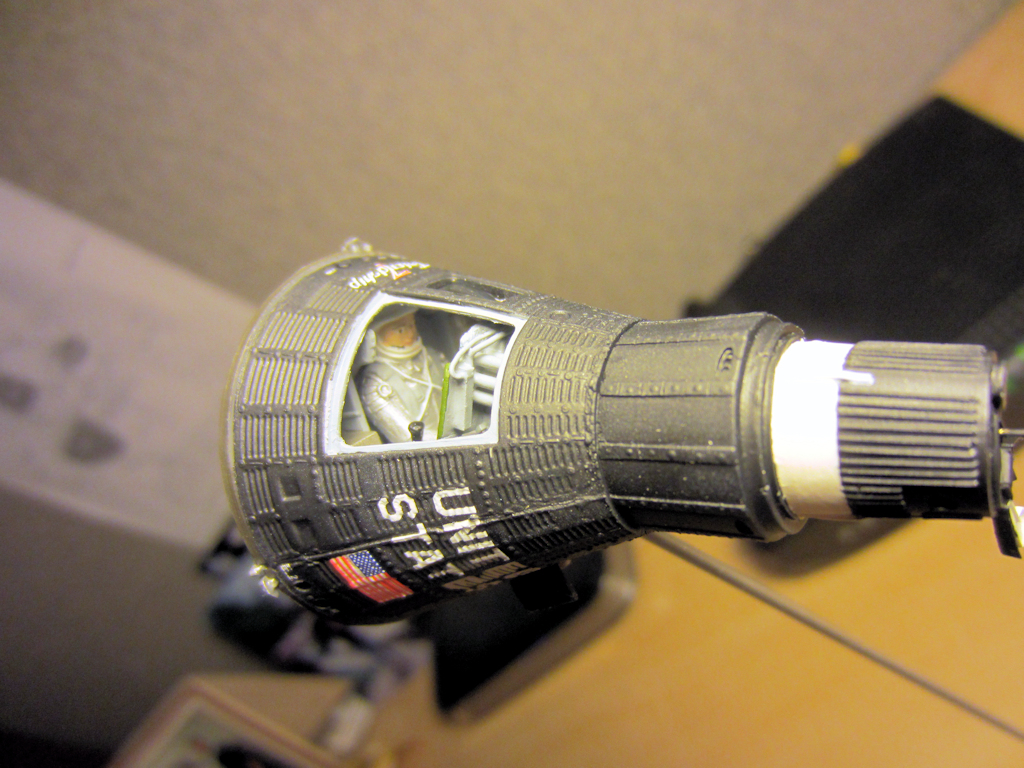 |
(2) With the hatch off, you can get a glimpse into the interior. I added
just a bit of detail to the back side of the instrument panel. |
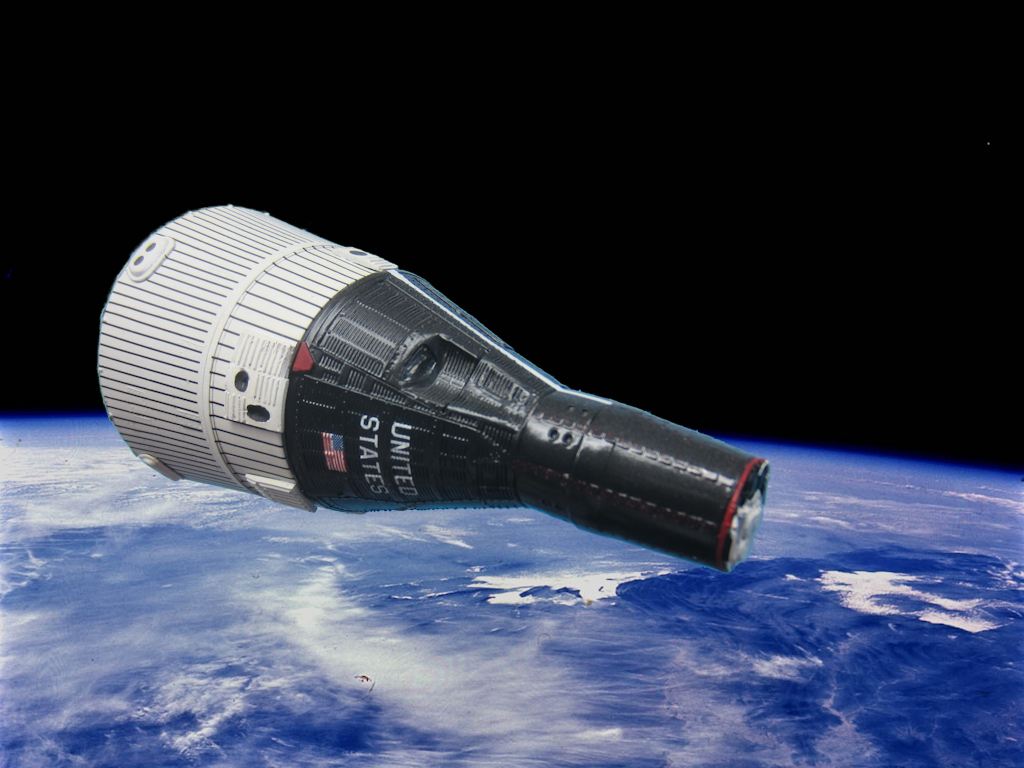 |
(1) My model of the Gemini spacecraft also started with the old Revell
1/48 scale kit and I again added the Real Space Models 1/48 Gemini detail set. |
 |
(2) The Earth photograph was taken during an actual Gemini mission. |
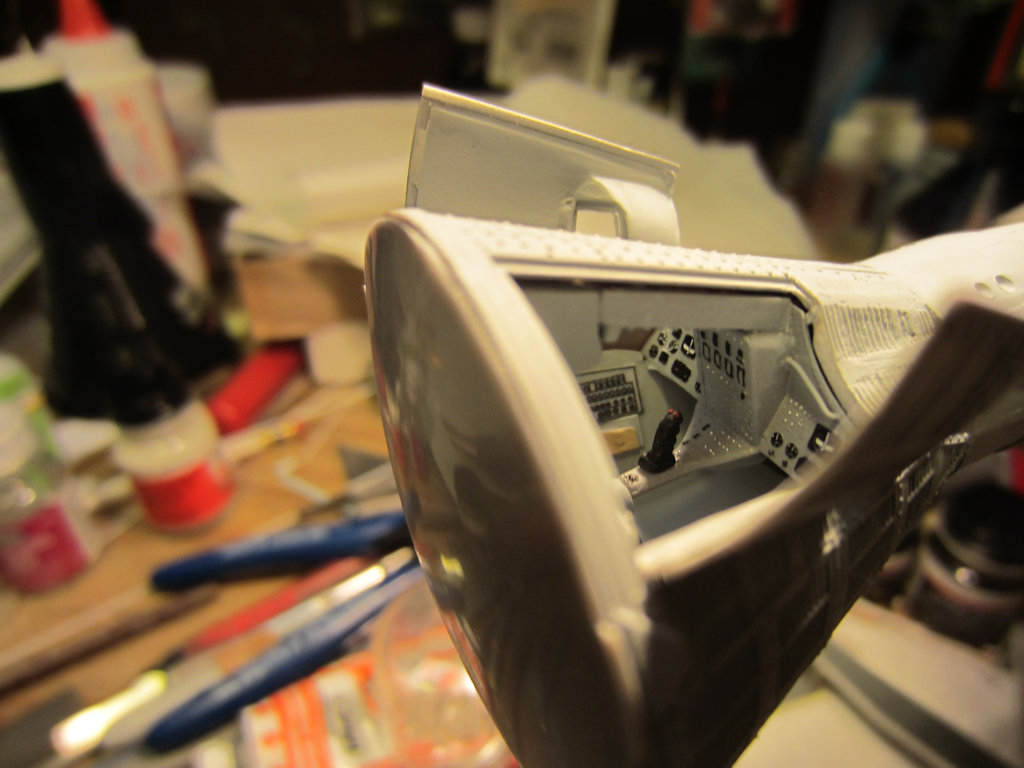 |
(3) In this in-progress shot you can see some of the detailing that
I did on the interior. Added details were formed from brass wire, bits of styrene, aircraft
instrument decals, and a couple of custom decals that I made myself. |
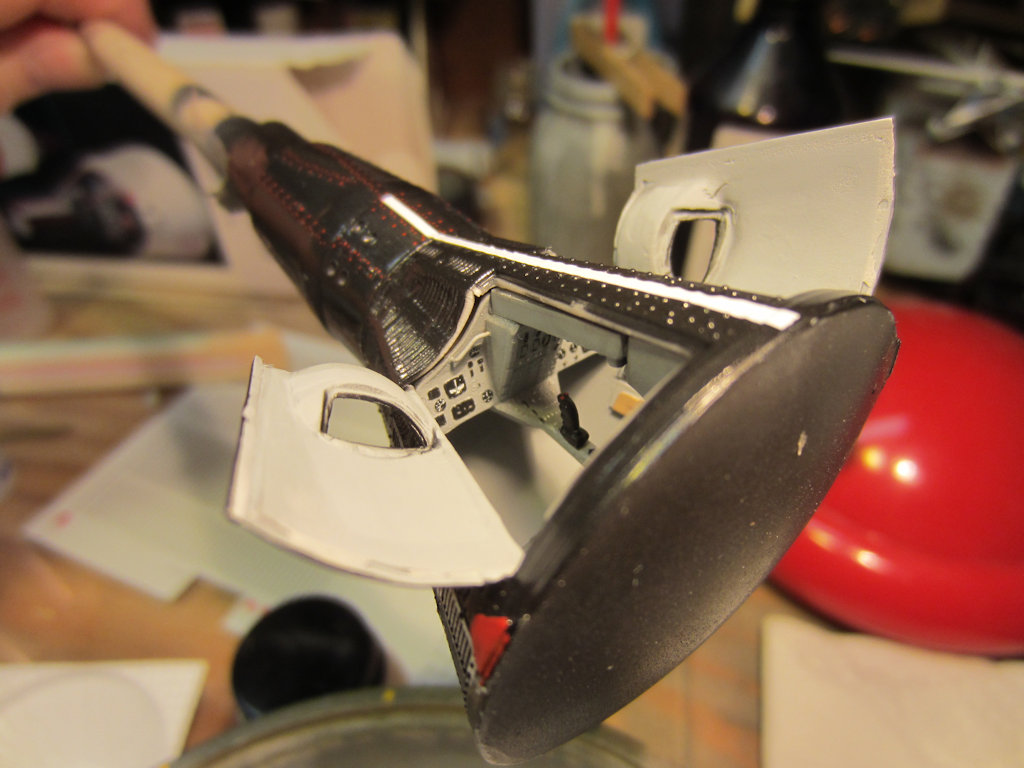 |
(4) My workbench is not an ideal background for photos, is it? |
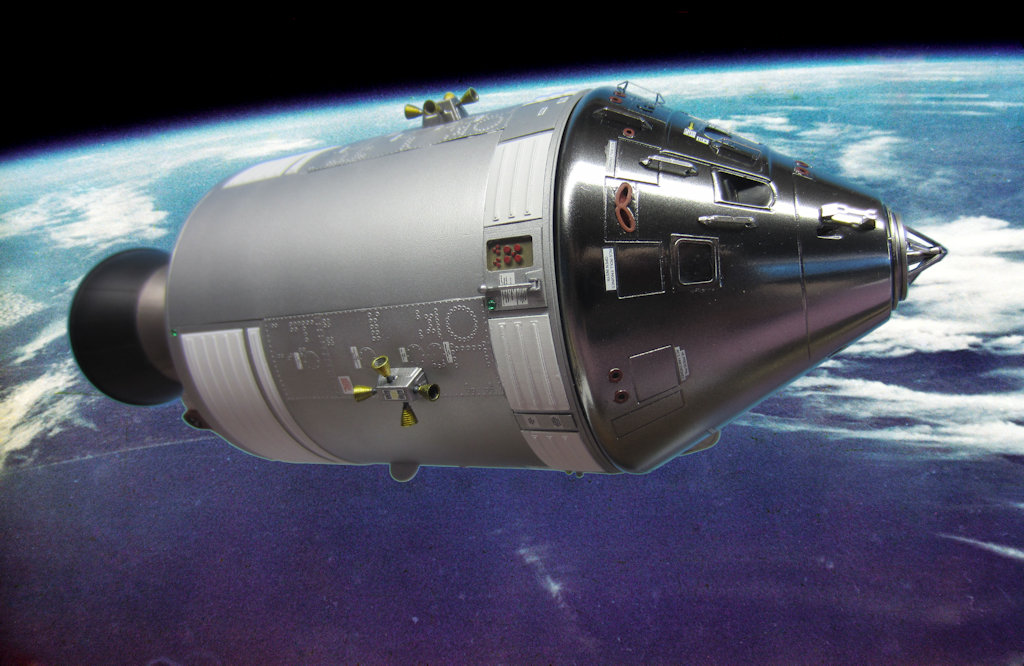 |
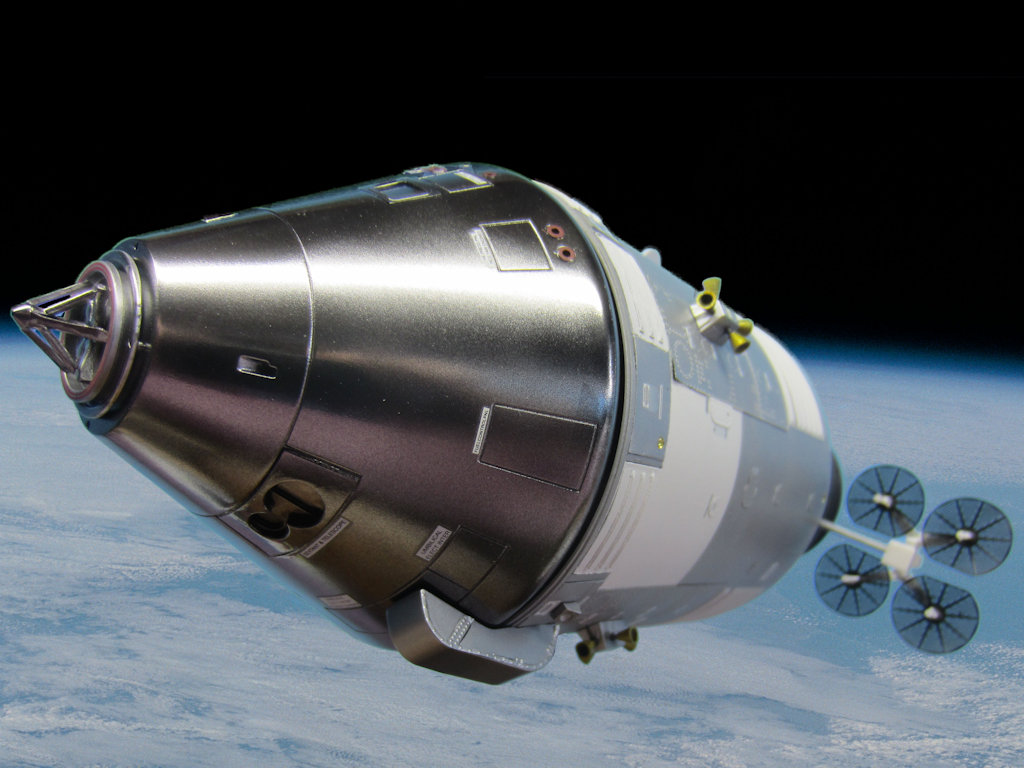
(1) This model was built from Dragon’s 1/48 scale kit. I also used New Ware’s
detail set, and 3D printed RCS thrusters from Shapeways. I drilled out the solid blanks that Dragon cast on
in place of windows. That turned out to be more of an adventure than I would have liked (long story). The
Command module was painted with Alclad II Chrome. The Service Module got Semi-Matte Aluminum. |
 |
(2) Dragon’s decals seemed to be fairly complete, so I didn’t feel the need for
an aftermarket offering. I did create a decal of the red docking ring seals. |
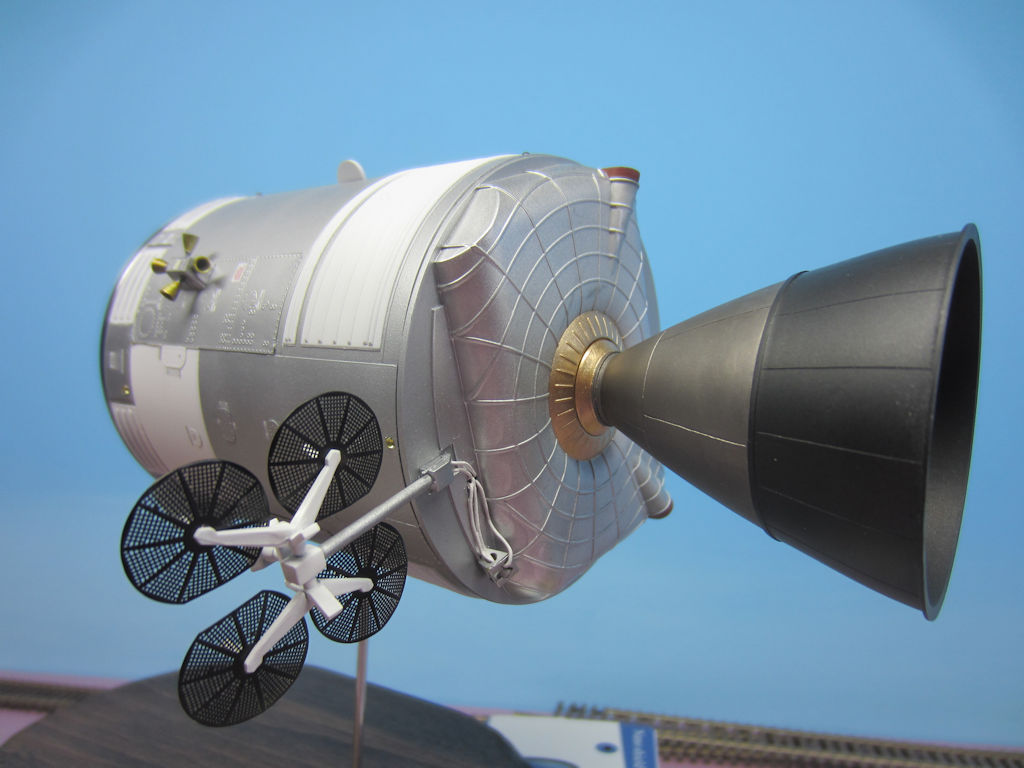 |
(3) The New Ware kit didn’t leave many details unaccounted for, but I
did add wires to the SM/SLA umbilical disconnect and I used MV Products lenses that I had on
hand for the running lights. |
|
I think everyone interested in the U.S. space program longed for models of all of the spacecraft in a common scale. AMT answered the call in 1969 with their Man in Space kit. In the box were 1/200 scale models of the Mercury-Redstone, the Mercury-Atlas, the Gemini-Titan, the Saturn 1b, and the Saturn V. I built one of these kits back in the day. We were on vacation at my Grandmother’s house, so the models must have been left behind when we returned home. Years later, the kit was out of production and coming up with all the spacecraft in a common scale was prohibitively expensive. Recently, Round 2 re-released the old AMT kit and I was back in business. I’m no longer a 12-year-old kid who can’t afford both a kit and paint and I’ve developed my skill set a bit over the years, so I wanted to go beyond a straight out-of-the-box build. There are a couple of sources for aftermarket decals (TangoPapa and IndyCals) for this kit and Shapeways sells IndyCals’ replacements for the kit capsules. |
 |
First out of the box is the Mercury-Redstone. I replaced the Mercury capsule
with the IndyCals version. I also drilled out a few ports, added access hatches, and rebuilt the
bottom of the Redstone to more closely match photos and drawings. |
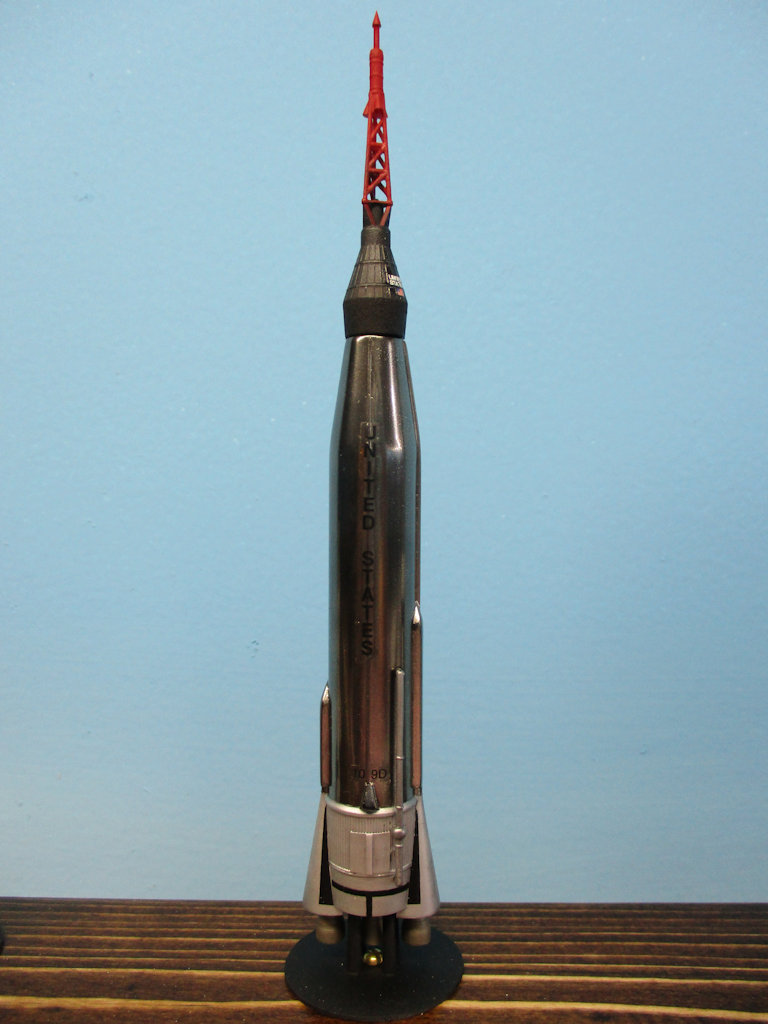 |
For the Mercury-Atlas combination, I again replaced the capsule
with the IndyCals version. I added one external line and sanded off the oversized raised panel lines.
I also added some detail at the bottom end of the booster. Paint is Alclad Stainless Steel and
Semi-Matte Aluminum. |
 |
The Gemini-Titan got an IndyCals capsule. There weren’t many changes to be made
to this one. |
 |
I marked the Saturn 1b to represent Apollo 7. The AMT kit would
need some serious work to make it accurate; many of the cast on details are
inaccurate and a lot is missing. I settled for adding a little bit of detail,
primarily an external conduit on the third stage and the various yellow antennas
at the top of the third stage. The Apollo 7 SM was an odd mix of Block 1 and 2 features
and markings. Out of the box, the AMT SM represents a Block 1. The IndyCals replacement
represents Block 2. I chose to carve and sand all the detail off of the AMT part, painted it
white and used the Tango Poppa decal to represent the odd Apollo 7 markings. I did add a
set of thrusters from the IndyCals set. |
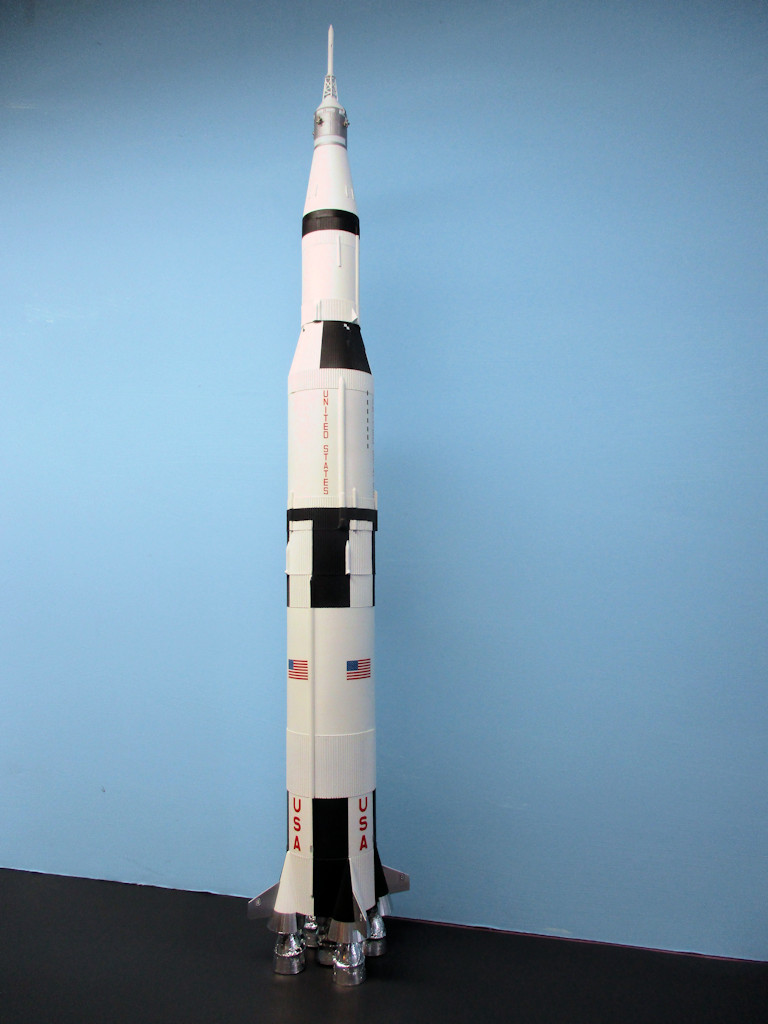 |
The Saturn V was built to represent Apollo 11. As with the Saturn
1B, the Saturn V would need some serious work to make it accurate. Starting with the
conduits on the first stage, which should be somewhat to the right of where they are,
many of the details are in the wrong places, inaccurately shaped, or missing. I chose
to forego fixing them, but that came back to bite me when I went to decal the model.
I had to shift some of the markings to avoid misplaced details. I replaced the kit
CSM with the IndyCals 3D printed part and I used Tango Poppa decals. |
You can reach Larry at:
Larry Z. Daily.
Visit Larry’s page on Amazon: Amazon Author Page