
Tamiya 1:48 F-6C Mustang
|
Larry Z. Daily’s Personal Page Tamiya 1:48 F-6C Mustang |
This is the twelfth and final build in my Mustang
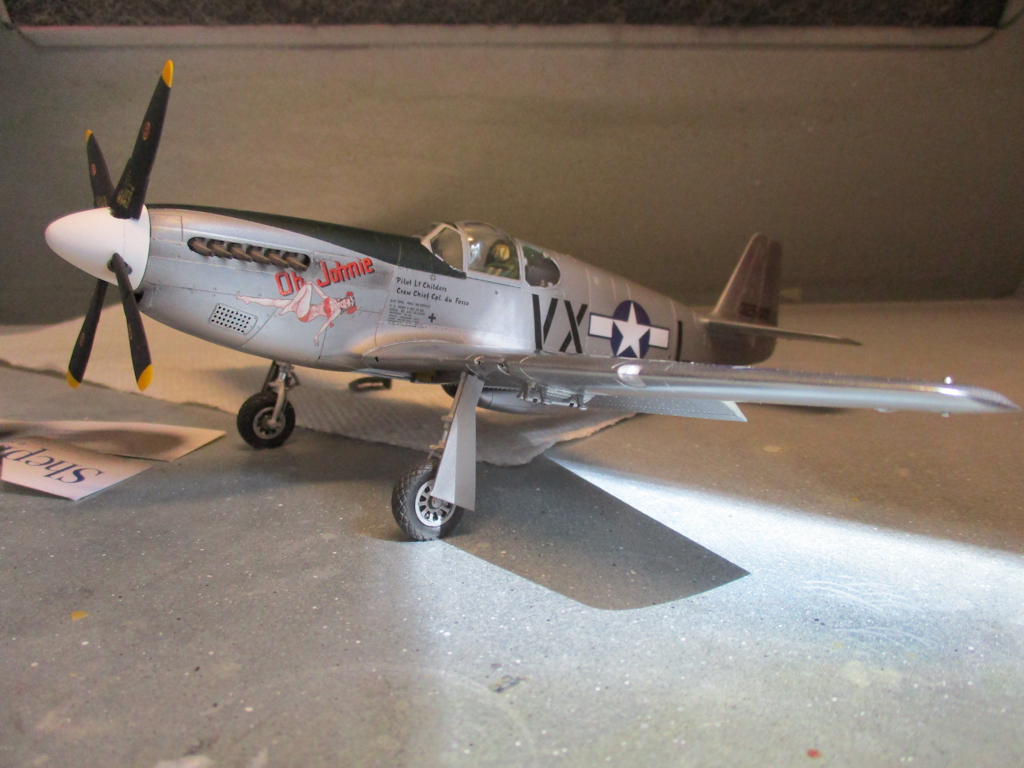
series. For my F-6C, I chose to model aircraft serial number 43-25081, which was produced as a P-51C in Dallas and converted to
an F-6C at the Kansas City Modification Center. The aircraft was delivered to the AAC between 20 June 1944 and 25 July 1944. It
was nicknamed Oh Johnie by its pilot Lt. Childers. Childers and Oh Johnie were assigned to the 109th
TRS 67th TRG and was coded VX-L. The BuildPrototype:Model: F-6C (converted from a P-51C) Serial number: 43-25081 Nickname: Oh Johnie Pilot: Lt. Childers Kit: Tamiya 1:48 P-51B Mustang In addition to the kit, I also planned to use the following aftermarket parts:
|
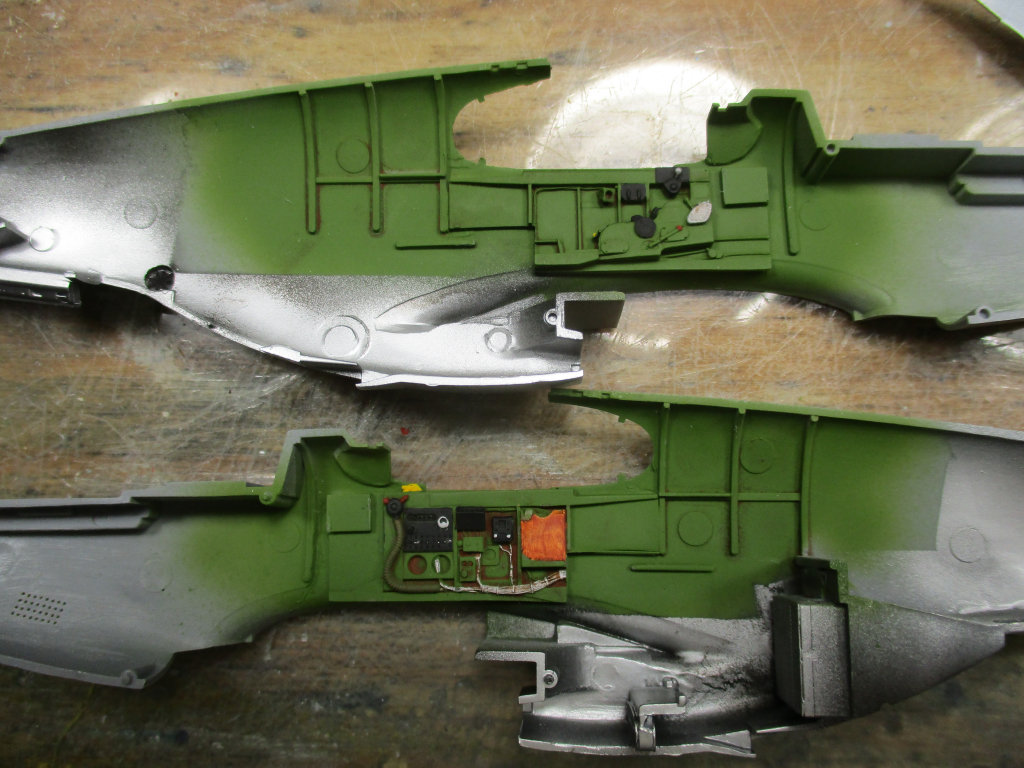 |
(1) After removing the cast on detail on the side walls of the cockpit, I
installed the resin parts from the Aires set. I also modified the kit parts to accept
the etched radiator parts from the Eduard detail set. The cockpit the got a coat of
Model Master Interior Green while others areas were painted with Alclad II Aluminum over a
gloss black base. Cockpit details were picked out with black, yellow, red, and aluminum. |
 |
(2) The Aires instrument panel is gorgeous. With just a little care
in assembly and painting it looks amazing. And, unlike the last time I tried using
an Aires set, I didn’t mangle the rudder pedals. |
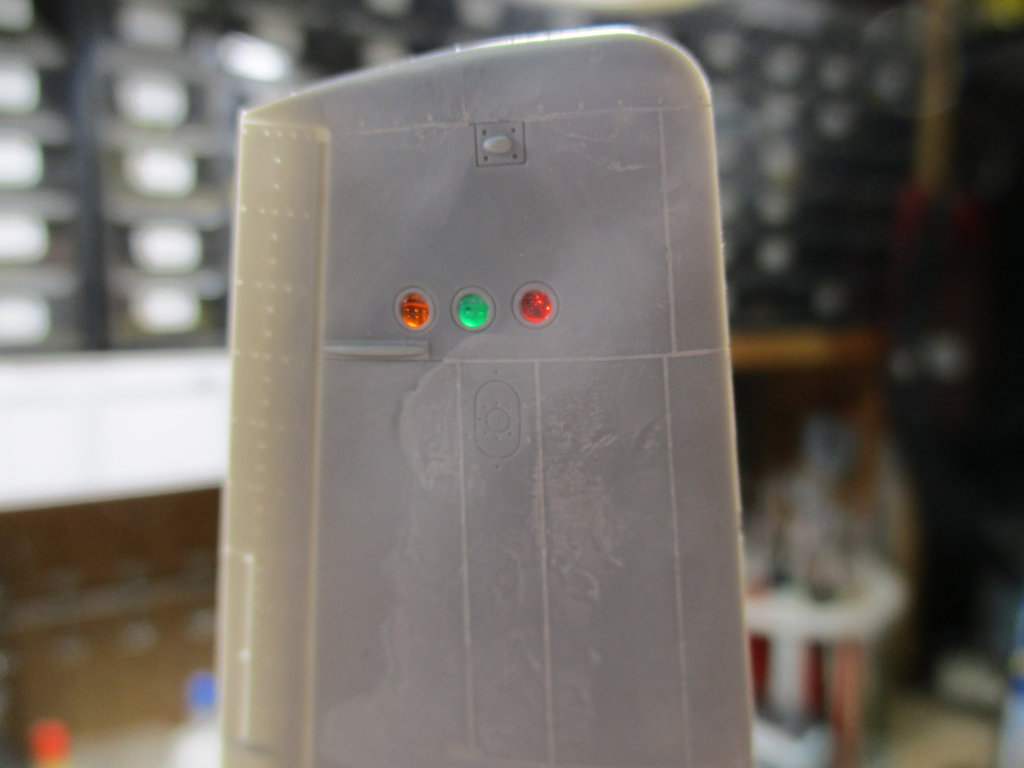 |
(3) As I have on all my Mustang builds, I drilled out the signal lights
and replaced them with lenses made from 1/6" clear rod.They’re colored with Tamiya
clear colors. |
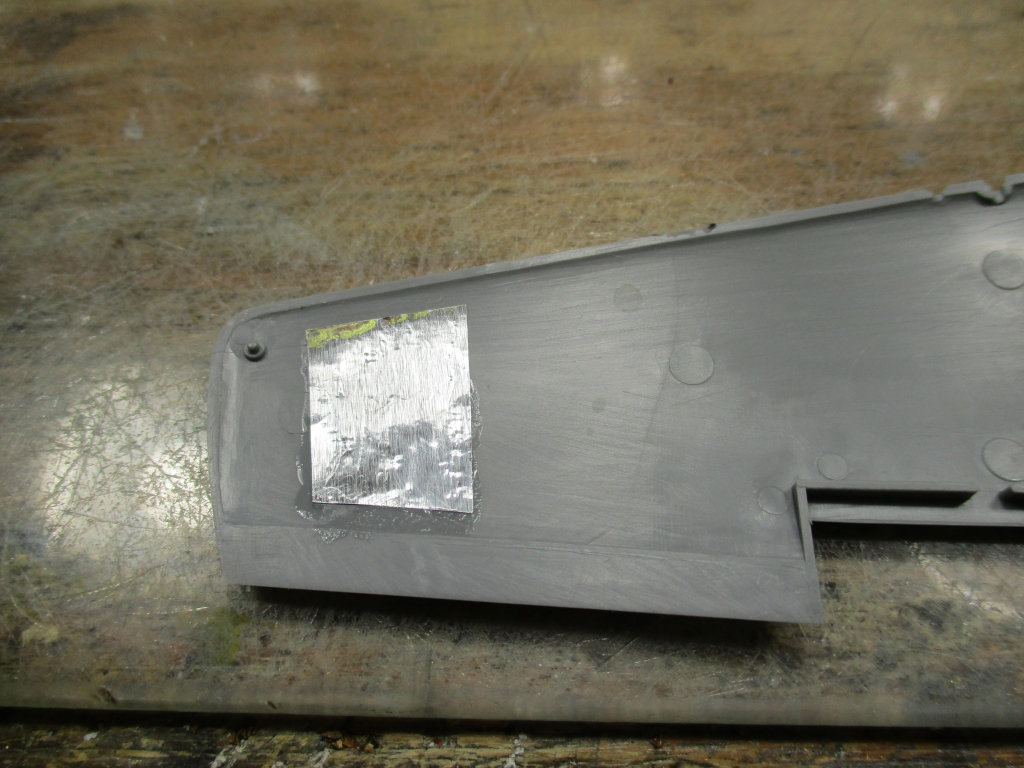 |
(4) This is a trick I learned from an article on modeling the starship Enterprise:
backing a clear part with the shiny side of some aluminum foil reflects some light back through
the lens enhancing its appearance. |
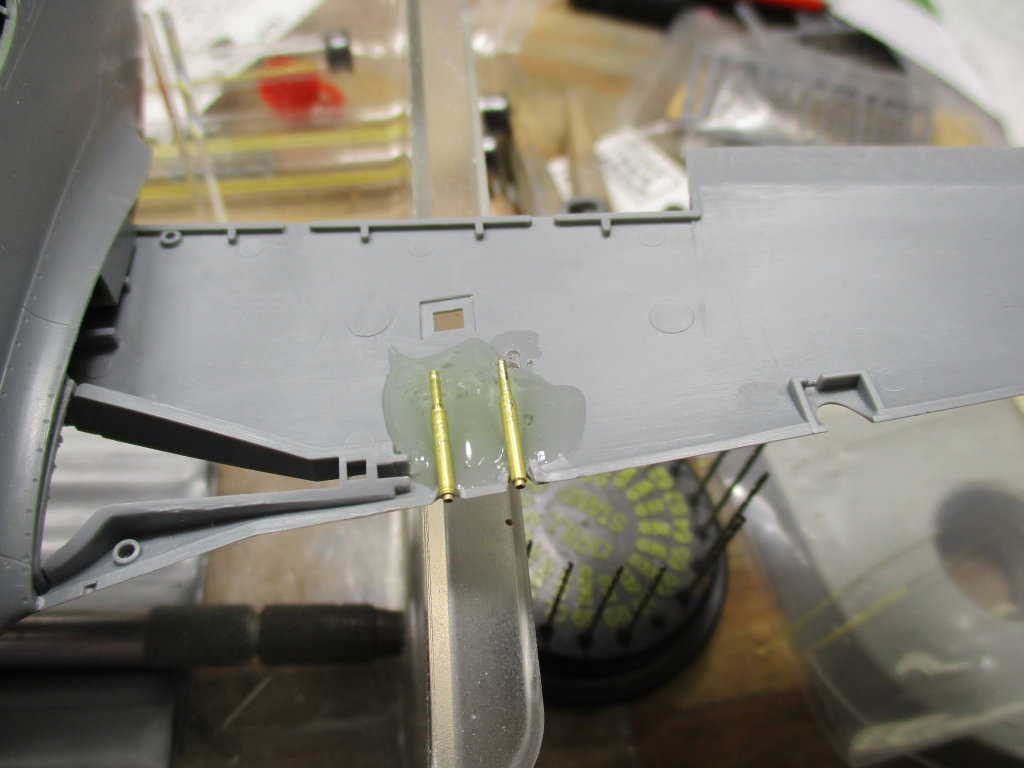 |
(5) I carved off the cast on gun barrels and replaced them with new ones made from
nested brass tubing. This isn’t the first time that I’ve done this. On an earlier model,
I had glued in the new barrels with ACC. Way later in construction, one of the barrels broke off and
disappeared into the model, never to be seen again. Inserting a new one from outside the wing was a
real pain. The copious amount of 5-minute epoxy is my attempt to make sure that I never have to do
that again. |
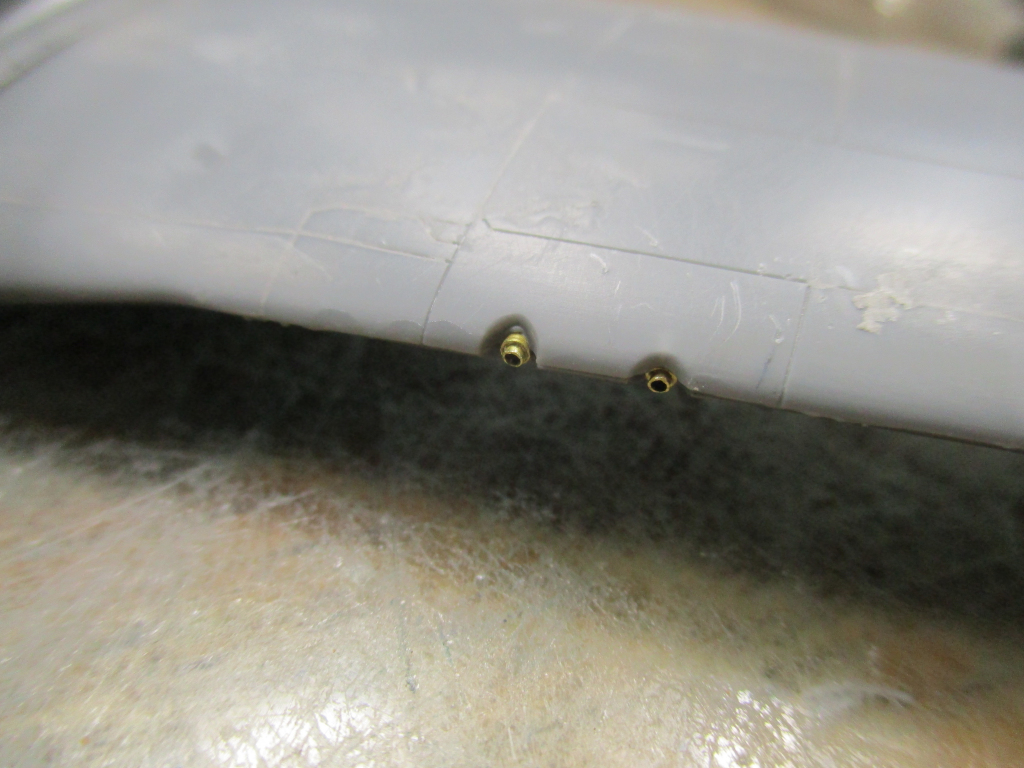 |
(6) Here’s what the new guns look like after the wing is closed up. I
think they look better than the kit part. |
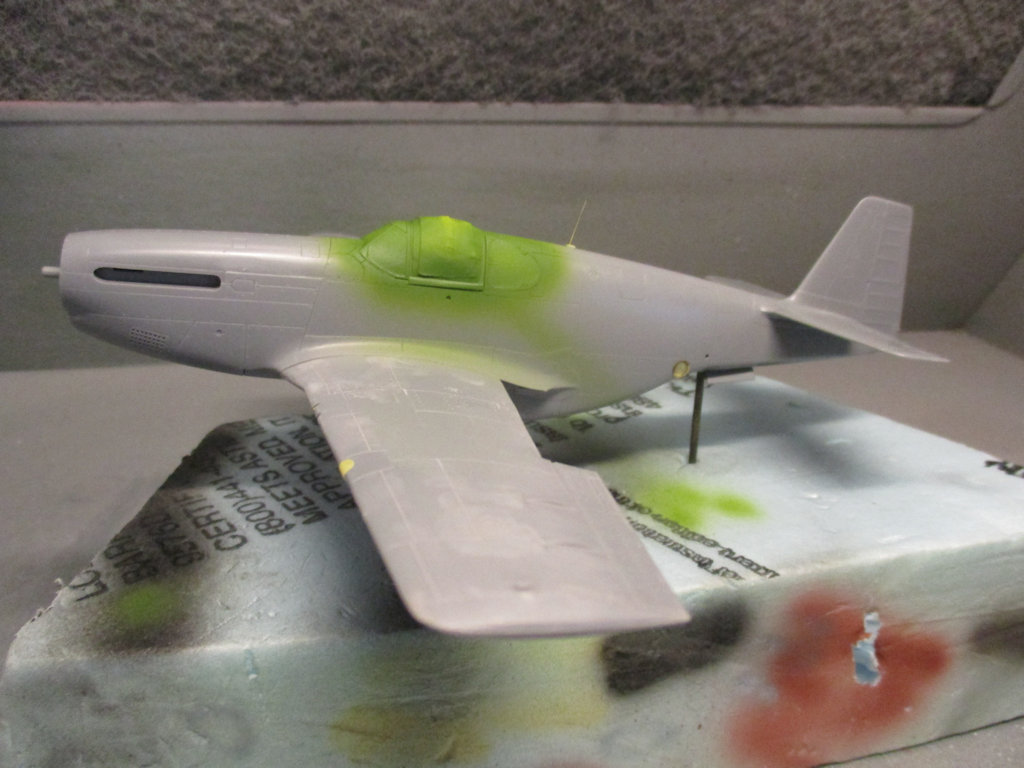 |
(7) I masked the canopy with masks from Eduard and sprayed the canopy frame with
interior green. |
 |
(8) Then the whole aircraft received a coat of Alclad gloss black base. That revealed that the panel lines on the
wings were still visible. I puttied and sanded them again, but after another coat of gloss black base, I could still make out the
panel lines. A coat of Alclad black primer with microfiller did the trick. |
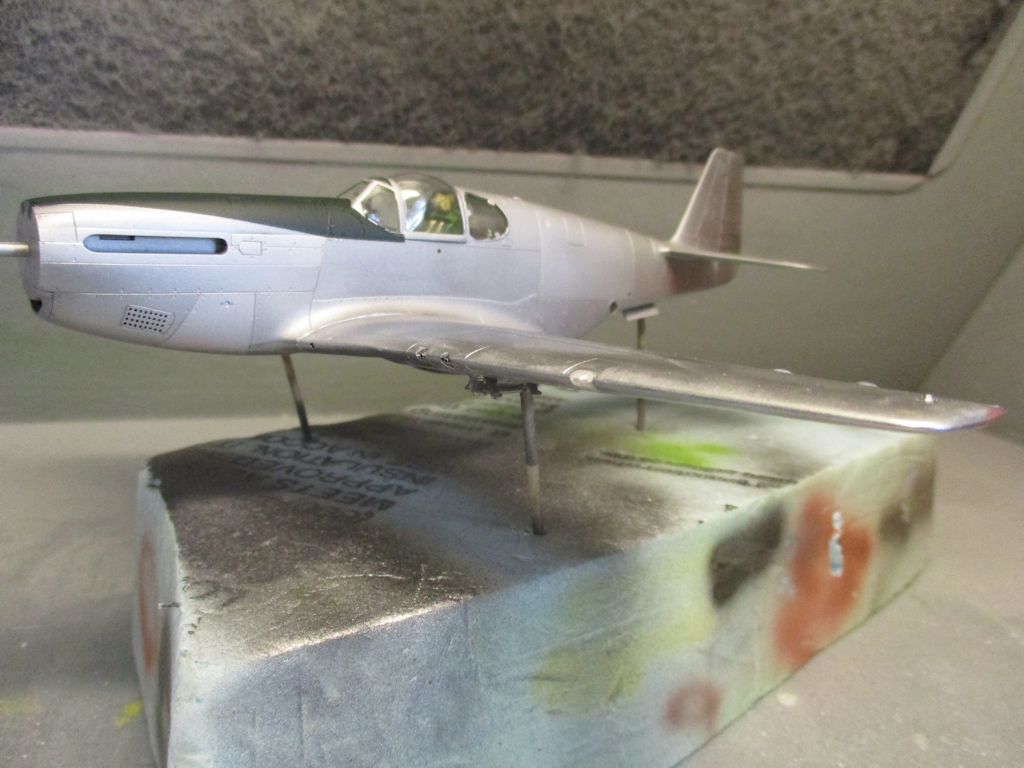 |
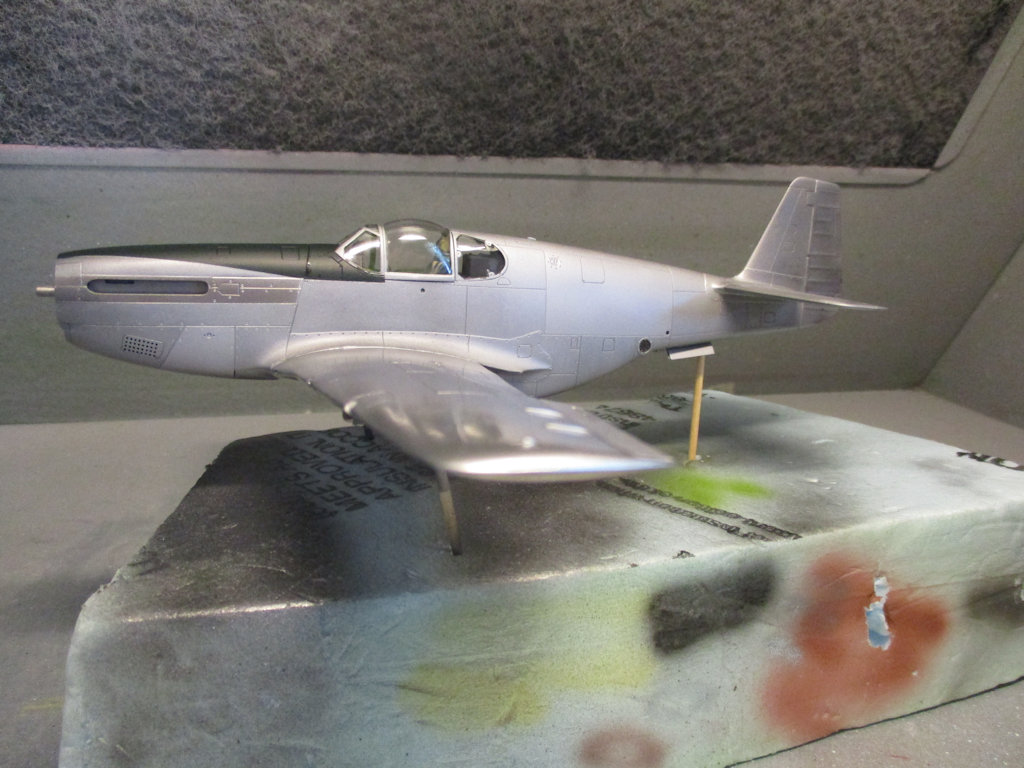
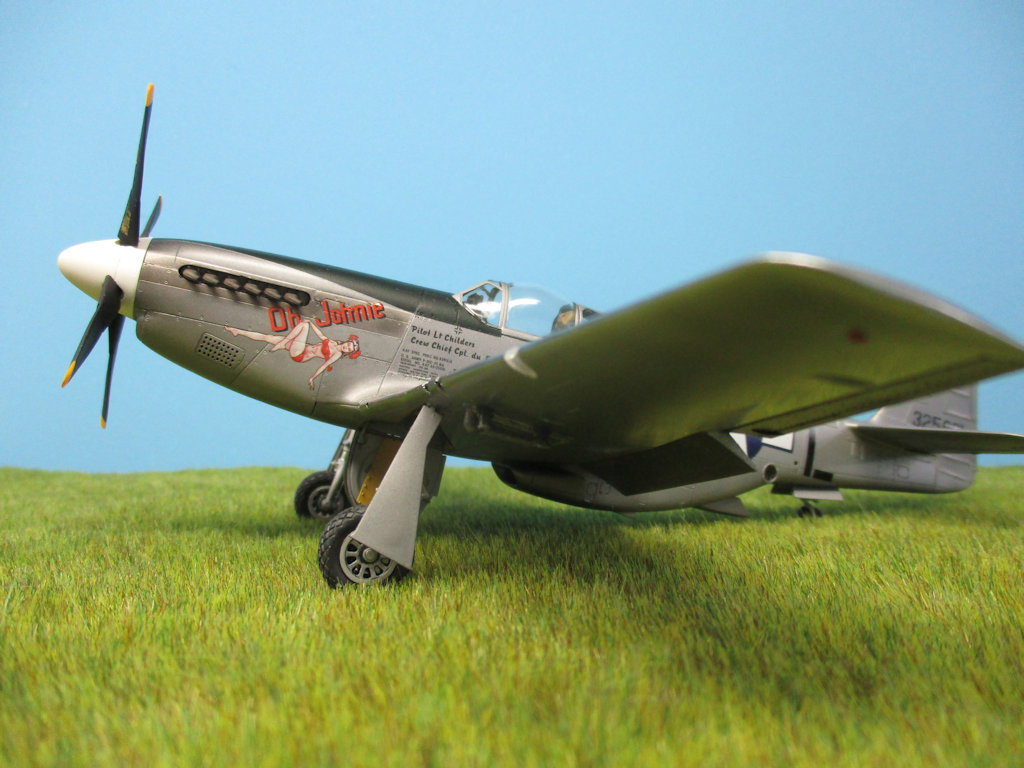
(9) I first masked so that I could paint the control surfaces – the ailerons, the elevators,
and the rudder – with Alclad Semi-matte Aluminum. The wings then got a coat of Mr. Color Super Silver
to replicate the silver laquer that the prototype’s wings were painted with. Next I masked and sprayed
the antiglare panel with Vallejo Olive Green. Finally, I masked and painted several of the fuselage panels with
Dark Aluminum and then went over the whole fuselage with Aluminum. I need to darken up the panels around the exhaust,
but Oh, Johnie is nearing the finish line. |
 |
(10) I darkened the panel around the exhausts with a mix of Alclad Aluminum and Magnesium. |
 |
(11) The exhausts were painted with Testors Metalizer Burnt Metal and then dusted with Pollyscale Roof Brown. Then
I used Tamiya weathering powders - both rust and soot - to finish the weathering. Then I added the decals and the landing gear. All
that’s left are a few details. |
 |
(12) Oh, Johnie is now finished, as is my 1/48 scale Mustang project. I do have
a set of the Eduard Brassin 75 gallon drop tanks and I may add those, but this build is pretty much completed. |
 |
(13) |
 |
(14) |
|
[home]
[trek]
[space]
[camel]
[p-51]
[vega]
[C&O]
[professional]
|