
Accurate Miniatures 1:48 P-51B Mustang
|
Larry Z. Daily’s Personal Page Accurate Miniatures 1:48 P-51B Mustang |
| This model — an Accurate Miniatures P-51B — is the sixth in my
Mustang
series. The P-51B was the first Mustang variant powered by the Packard-built Merlin
engine. The combination of the Mustang airframe and the Merlin engine resulted in the best all-around fighter of World War II and one of
the best fighter designs of all time. As it turns out, the desire to build this model (and the other P-51B that I plan to do) triggered my Mustang series. The first model that I ever painted with an airbrush was Monogram’s venerable P-51B decorated as James Howard’s Ding Hao. Many years later I built a second Monogram P-51B and marked it as Ill Wind?, the Mustang flown by Nicholas Megura. Both of those models are now showing their age and, since both my model building and airbrushing skills have somewhat improved since I built them, I decided to replace them. One thing led to another, and now, once I’ve finished the series, I will have built 11 Mustangs. This one will be my last kit by Accurate Miniatures and I plan to mark it as Ill Wind? using decals from Kits-World. Prototype: Model: P-51B-7-NA Serial number: 43-6636 Nickname: Ill Wind? Pilot: Nicholas Megura Kit: Accurate Miniatures 1:48 P-51B Mustang In addition to the kit, I also plan to use the following aftermarket parts:
|
 |
(1) The most difficult part of this build was going to be the cockpit, so I decided to start there.
Even though I have seven* other Accurate Miniatures Mustangs under my belt, they were all Allison Mustangs. The
P-51B goes together just a bit differently (especially in the cockpit). I was also planning to use the beautifully
detailed Aires cockpit set and it was intended for the Tamiya P-51B. I’d also seen cautions online about the
width of the Aires cockpit parts and the need to really thin the sidewalls and the sides of the fuselage.
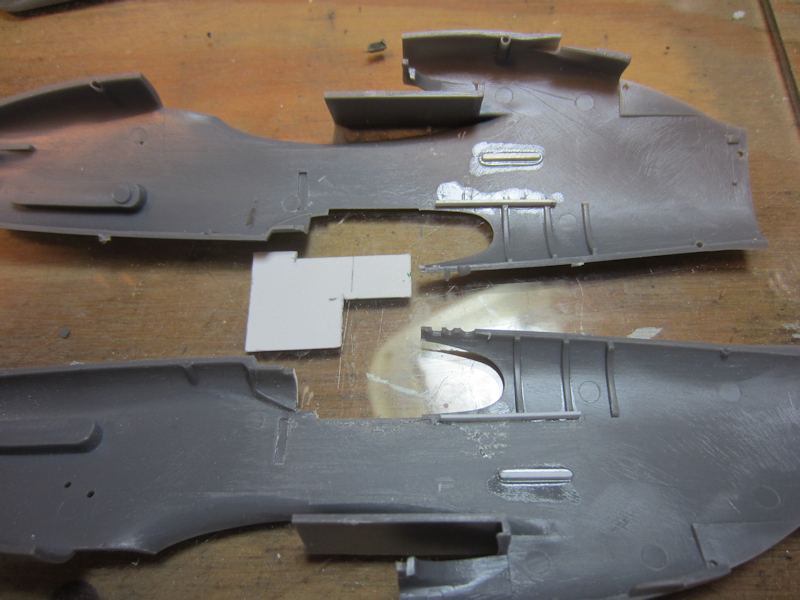
After a good bit of study, I decided that the first thing to do would be to remove the locator pins on the AM
fuselage sides and then replicate the features of the Tamiya kit used to locate the Aires sidewalls. I did so using
styrene strip, .020x.060 for the long strips and .030x.030 for the lower. * The more astute among you will note that I’ve only described 5 Allison Mustang builds on this site. The less said about the other two, the better. |
 |
(2) One site that I saw mentioned that, if you’re not careful to get the sidewalls thinned
sufficiently, the fuselage will be too wide and forcing the wings on will elimate the dihedral. To avoid that, I’d
sand the parts and then dry fit as much as I could. In addition to thinning the sidewalls, I had to remove some material
from the front edge of the floor piece to clear the landing gear bays. |
 |
(3) After all the sanding, here are some of the major cockpit parts ready for a coat of Interior Green. |
 |
(4) Photos 4 and 5 show the major cockpit parts ready for assembly. |
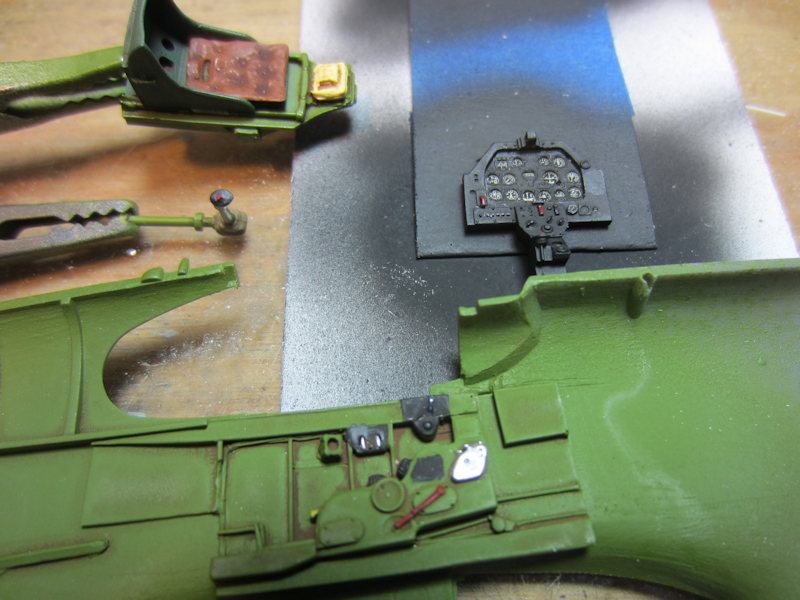 |
(5) |
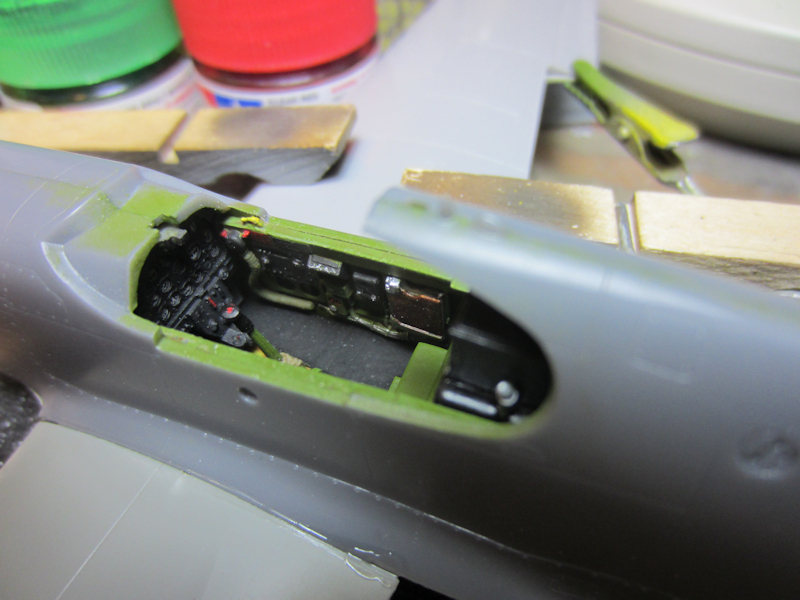 |
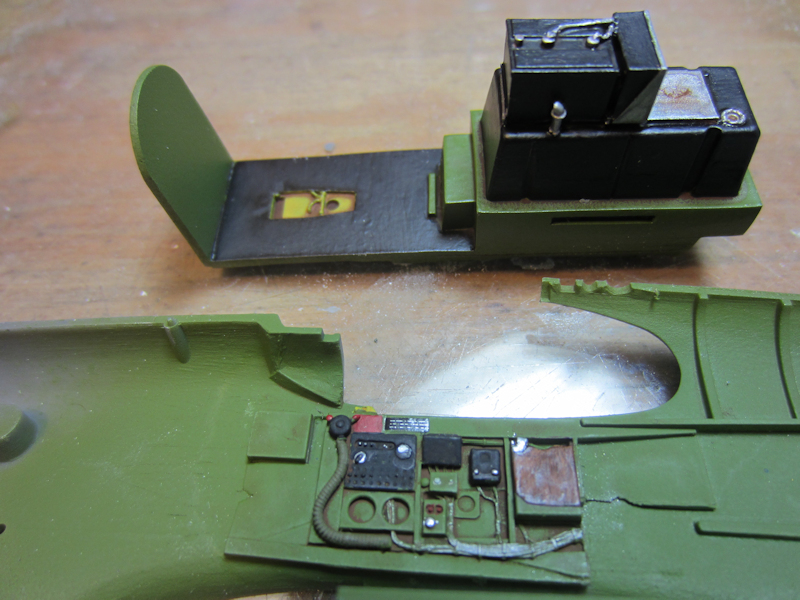
(6) I’ve closed up the fuselage. Here’s a view of the right side of the cockpit. |
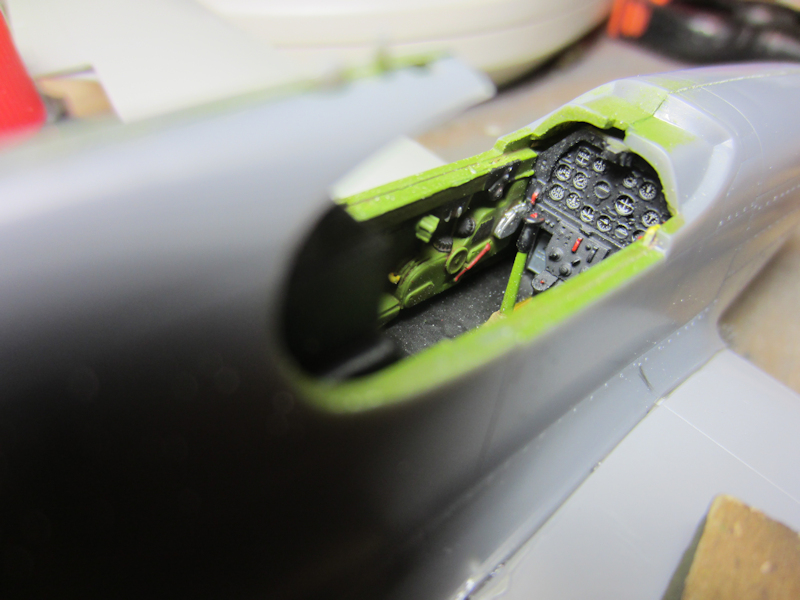 |
(7) And here’s the left side. |
 |
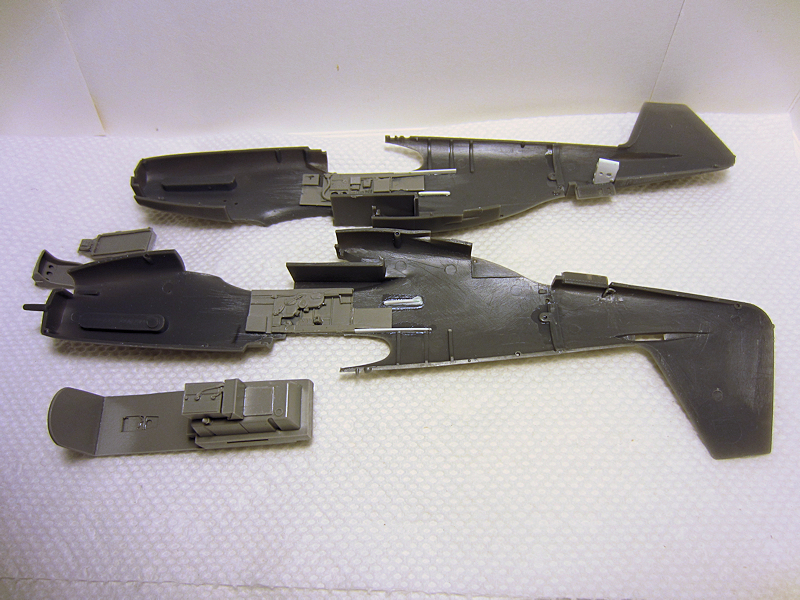
(8) The Merlin powered Mustangs had a different hydraulic system than
the Aliison powered Mustangs. The new system slowly lost pressure after the engine was
shut off, so the inner landing gear doors and the flaps dropped down over time. I wanted to model
dropped flaps on this plane. I ordered the UltraCast flaps, which were meant for the Tamiya
kit. Once again, I made a decision that had me modifying an Accurate Miniatures kit to replicate the Tamiya
mounting system. |
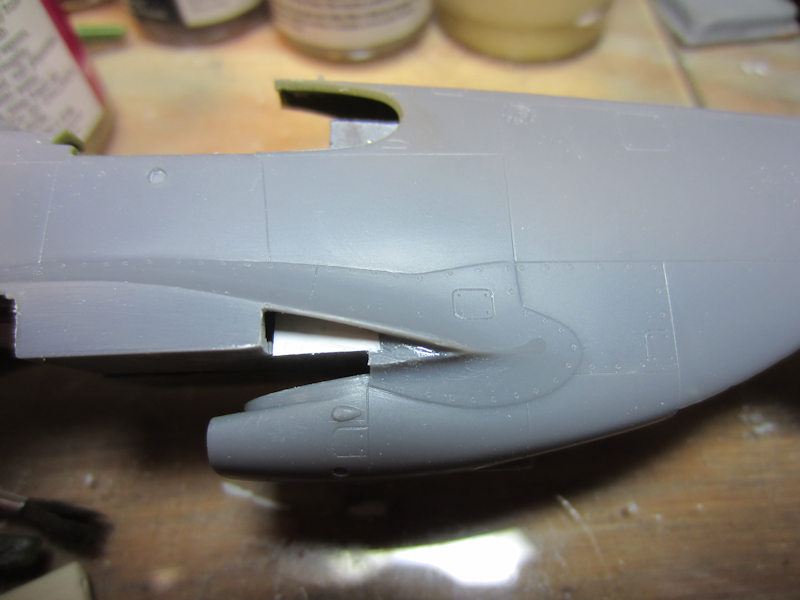 |
(9) I also had to cut away part of the AM lower fuslage and then close the
resulting hole. |
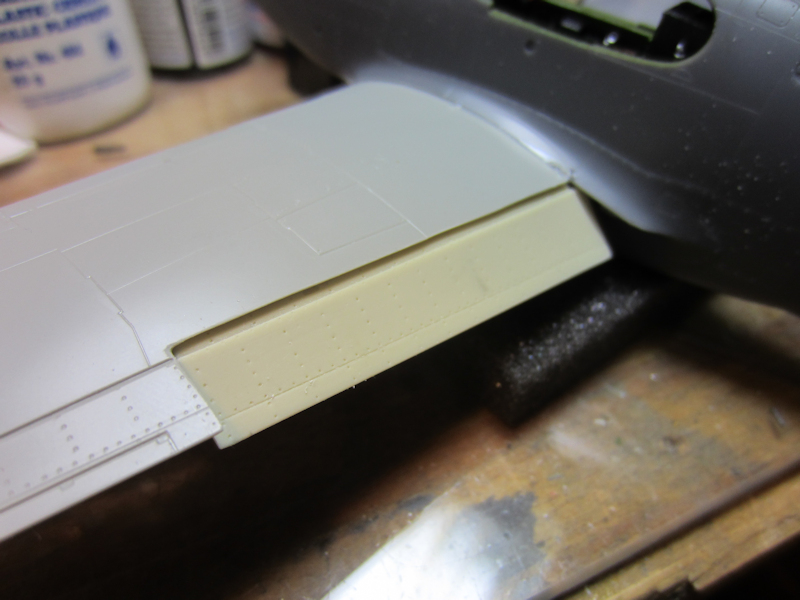 |
(10) Here’s the new flap in place. |
 |
(11) Almost ready for paint. I used Archer decals to add the missing fasteners on top of the nose and
strip styrene to add missing wing detail. A little final sanding and cleaning and she’ll be ready for paint. |
 |
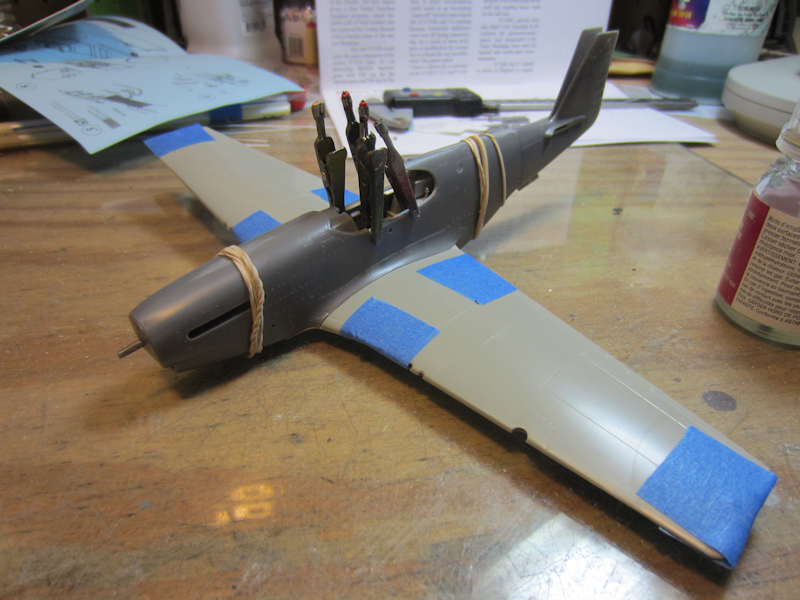
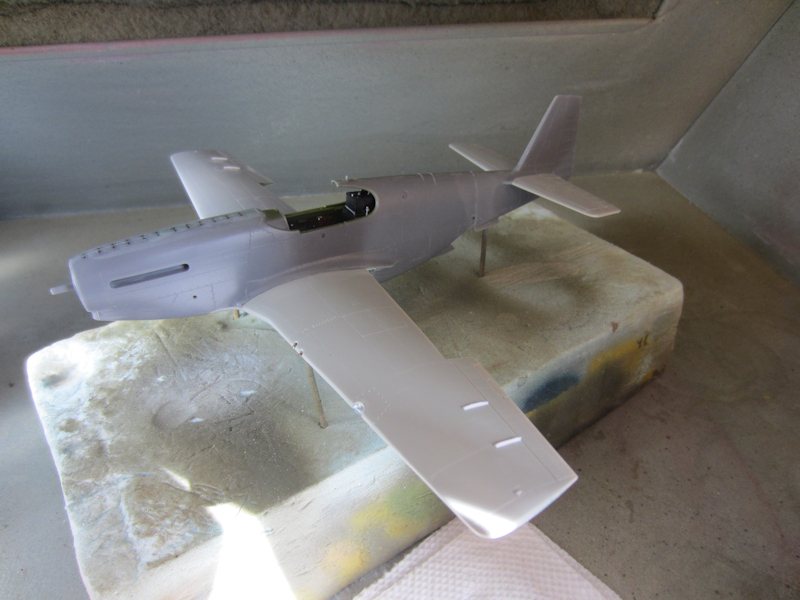
(12) Well, wrapping up the fall 2015 semster kept me away from my workbench for quite a while, but
over the last few days I’ve gotten paint on this plane. It turned out to be a frustrating experience; I
don’t know what I did wrong this time, but I had real problems with paint coming up with the masking tape. I
think I have a decent paint job on the plane now. A couple of days to dry, then I’ll spray a coat
of Future to provide a base coat for the decals. The plan is to mark this aircraft as Nicholas Megura’s
Ill Wind? using a combination of decals from the kit and from Kits-World. |
 |
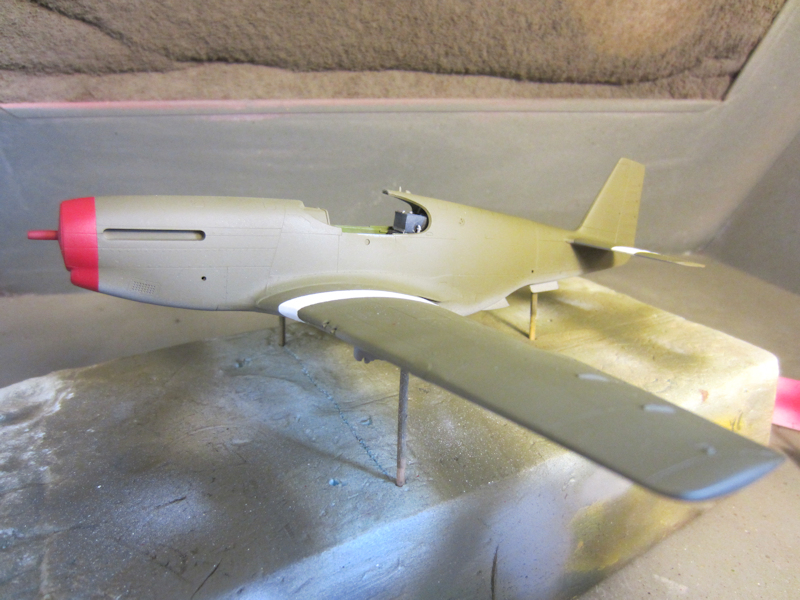
(13) I’ve started applying decals. The Kits-World decals are some of the best that
I’ve ever used. Most of the major markings are on and I’m working my way through all the
tiny stencils from a SuperScale P-51B set. |
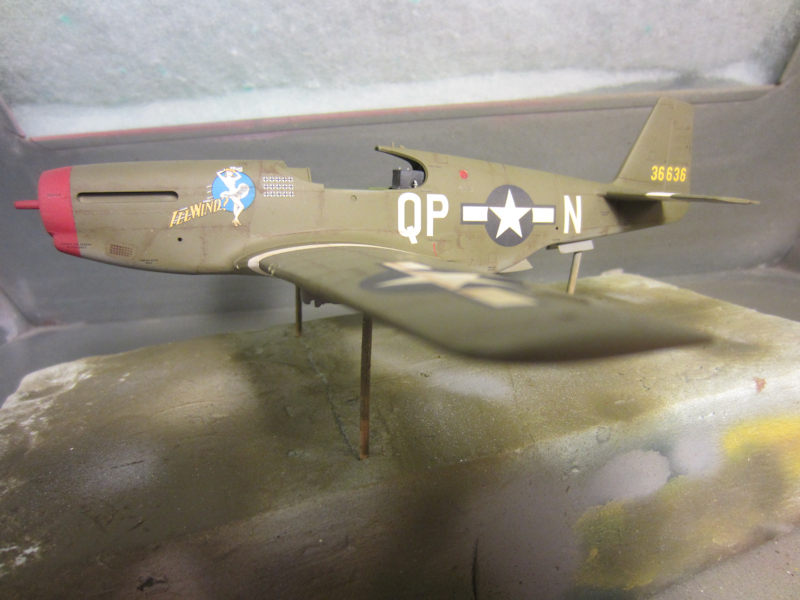 |
(14) The decals are all on and I’ve done some basic weathering. I want to try using a silver PrismaColor pencil to
add some chipping. The few photos that I’ve seen of Ill Wind show some fairly significant chipping. I’ve never tried
this technique before, so I think I’ll be practicing on the old Monogram kit that this build is meant to replace. |
 |
(15) Ill Wind? is very nearly done. All that’s really left is the canopy, the antenna mast, and a little
touch up here and there. |
 |
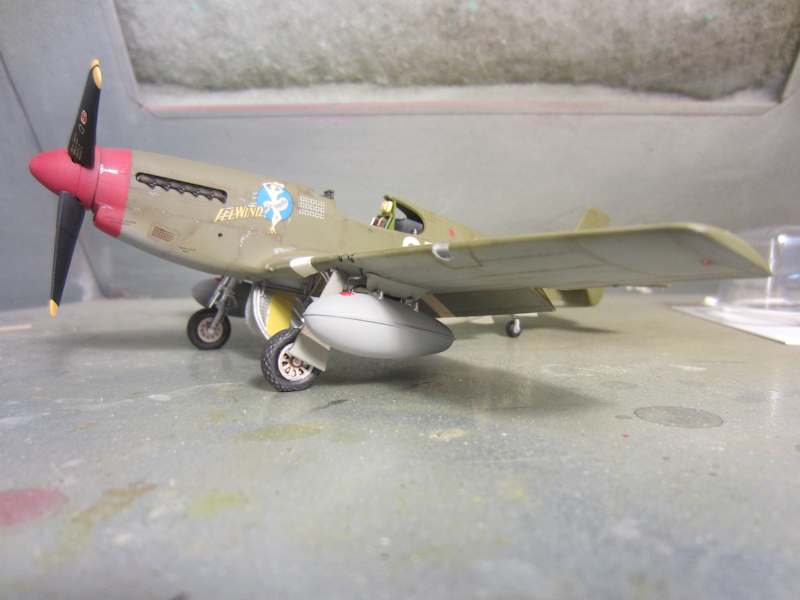
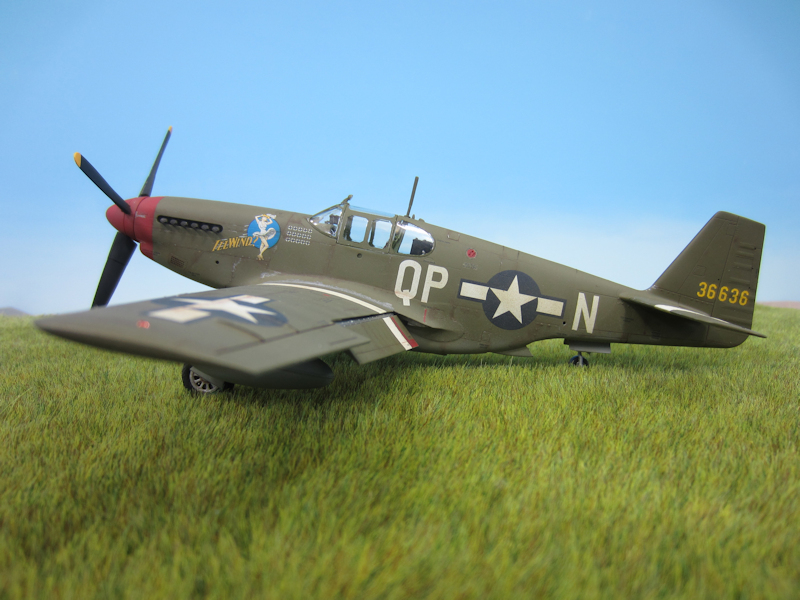
(16) Ill Wind? is done! To match the few photos of the aircraft that I have, I had to
scratchbuilt the antenna mast (I found a piece of framing from a 1/24 scale Gemini that was the correct diameter and
squished the end between the jaws of a vise) and swiped the rear view mirror from my Tamiya P-51B (after making
sure that the aircraft that I intend to model with that one didn’t have a mirror). Not that I’m proud or anything like that, but a pose very similar to this one appeared in the Reader Gallery of the May 2017 issue of FineScale Modeler magazine. |
 |
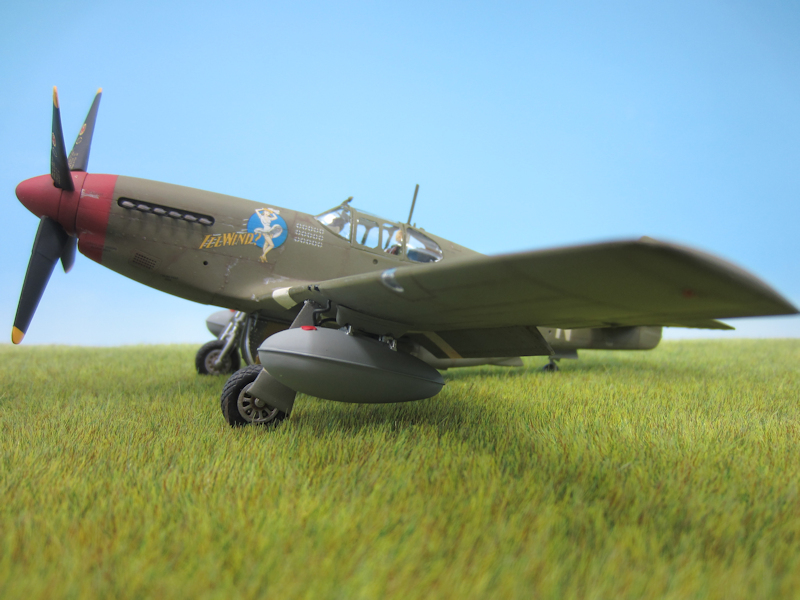
(17) Chipped paint was simulated by drawing the chips on with a silver PrismaColor pencil. I think I
still need to add more, especially on the prop. |
 |
(18) |
 |
(19) |
|
[home]
[trek]
[space]
[camel]
[p-51]
[vega]
[C&O]
[professional]
|