
Tamiya 1:48 P-51D Mustang
|
Larry Z. Daily’s Personal Page Tamiya 1:48 P-51D Mustang |
| This is the eigth build in my
Mustang
series. The P-51D built on the strengths of the B/C model, but addressed one major shortcoming of the B/C: limited visibility. North American cut down the rear fuselage and
added a bubble canopy for much improved visibility. Many consider the P-51D to be the definitive version of the Mustang, but I still have a personal preference for the razorback
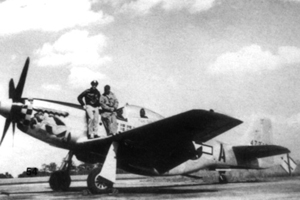
B model. The plan for this build is to model the P-51D flown by Captain Charles E. Weaver. The aircraft had no nickname, but very prominently featured a reclining nude woman under the exhaust. The aircraft was serial number 44-72199 and was coded G4 * A. I was determined to make this model as accurate as I could, so I really dug into whatever information I could find on Weaver’s Mustang. I need to note here that Weaver actually flew three P-51D’s coded G4 * A. The first was the well-known camoflaged D (s/n 44-13691) nicknamed Passion WAGON. The second (s/n 44-72199), assigned to him in March 1945, is the subject of this project. It was put into storage on VE Day in May of 1945 and was later sold to the Swiss. Weaver’s third D (s/n 44-63779) was assigned to him post war. In searching the Internet and my stash of Mustang books, I found a number of photos that claimed to depict 44-72199 during its relatively short service life in World War II. Those photos showed aircraft with both shrouded and unshrouded exhausts and either flags or eagles as kill markings. In addition, some photos showed that the plane was equipped with fuselage formation lights and a tail warning radar (TWR) system, but in others it clearly did not have those features. Given the fact that aircraft 44-72199 was in service for, at most, a little over two months, the extensive changes (especially repainting the kill markings) seemed unlikely. There was also uncertainty about the color of the “splash” behind the nude in the nose art. Most of the manufacturers who have released decals for this aircraft have used a red splash (Kit’s World, Cutting Edge, Superscale). Cutting Edge and Kit’s World have both also produced sets with a blue splash and Kit’s World and EagleCals have sets that include a black splash. What follows is my attempt to sort out what Weaver’s plane actually looked like. Photos of Weaver’s Aircraft
That left me with one issue to resolve. The photos listed above clearly show the forward formation light on 44-72199. I’ve only found a few photos that show a good, clear side view of Mustangs with fuselage formation lights installed. All of them had a forward light and another aft of the wing. In some, the rear light was just a little aft of the antenna mast and showed in the rear bar of the national insignia. In others, it was bit forward of there and showed up in the center of the star in the national insignia. In total, I have six photos. In three of them (WD * A Ridge Runner, QP * O Red Dog XII, and VF * F Clarine), the rear light is in aft bar. In the other three (G4 * C Nooky Booky IV, G4 * G Man-o-war, and G4 * M Ain’t Misbehavin’), the light is in the center of the star. I think the pattern is clear. I plan to locate the aft light in the center of the star. This decision is supported by photo number 3, which clearly shows the aft bar and there’s no light there. At this point I have a confession to make: the model seen here is actually the third version of Weaver’s P-51D that I’ve built. The first build ended up falling far short of my expectations and had a number of flaws, many of which stemmed from confusion about exactly what the aircraft looked like. I followed the drawings that came with the decals that I used and — of course — ended up finding errors as soon as I finished the build. The second attempt fell victim to my unfamiliarity with Mr. Color paints. I was using their Super Silver to replicate the aluminum paint on the wings and learned the hard way that if Mr. Color isn't thinned properly, it generates strings of paint. It was a complete disaster. The BuildPrototype:Model: P-51D-20-NA Serial number: 44-72199 Nickname: none Pilot: Charles E. Weaver Kit: Tamiya 1:48 P-51D Mustang In addition to the kit, I also plan to use the following aftermarket parts:
|
 |
(1) The first step was to remove the rudimentary detail cast into the kit’s sidewalls in preparation for the
photoetch replacements. |
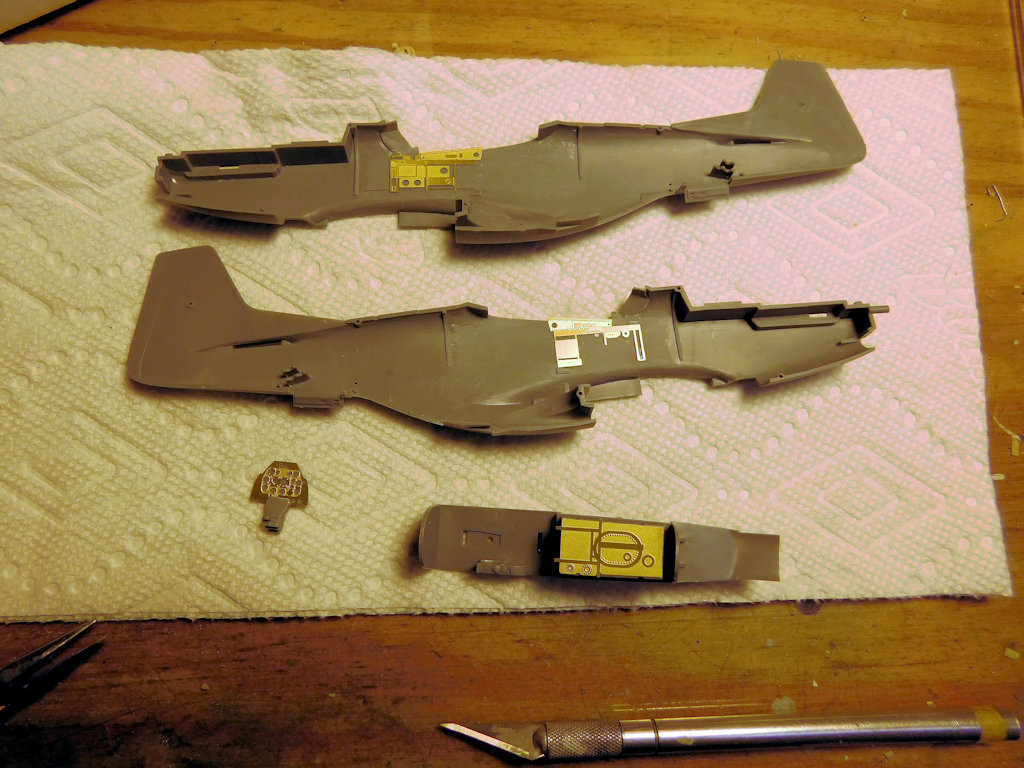 |
(2) In this shot I’ve installed the first of the photetched parts. I plan to
install everything that will be interior green and paint it first and then install the various parts
that will be other colors. |
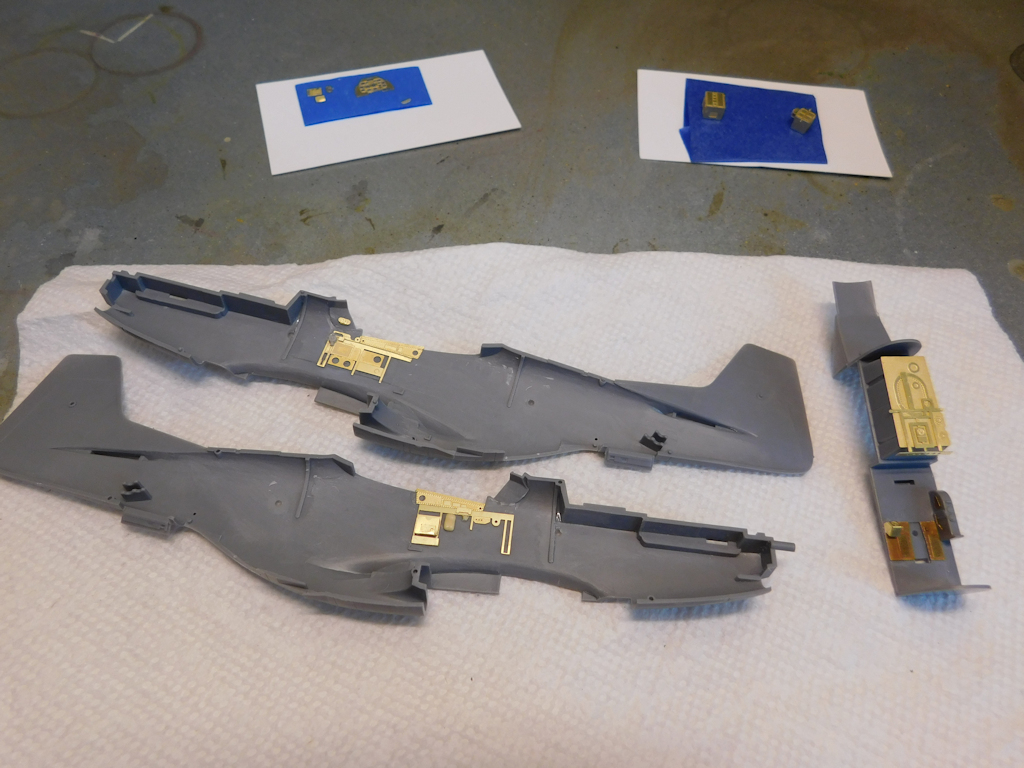 |
(3) Up until now I’ve been using True Details sets for my P-51D cockpits. Since I messed up my previous
attempt at Weaver’s aircraft, I wanted to minimize the cost of replacing it. I had acquired the AMUR Reaver set because it
included the TWR details. Since it was mostly a cockpit detailing set, I decided to give it a try. Overall, I’m impressed,
but there are some things missing. If you look closely, you can see that I had to cut an oxygen regulator from a leftover Accurate
Minatures sidewall for the right side of the cockpit. The flare gun port and bag for the left sidewall were cut from a Verlinden
P-51B set that I didn’t use on those builds because of the incorrect floor. In this shot, the major cockpit components are ready for a coat of
Interior Green or Black as appropriate. |
 |
(4) Here are the cockpit sidewalls. As I noted above, I had to cut an oxygen regulator from an old Accurate Miniatures
sidewall from my spares box. The oxygen hose is a short piece of a bronze-wound guitar string. The orange splotches fore and aft of the cockpit
are the backsides of the fuselage formation lights. I drilled 1/16" holes at the appropriate locations. I then cut 4 pieces of 1/16" clear
Plastruct rod and polished one end of each. Those pieces were then cemented into the holes with the polished end flush with the surface of the
aircraft. Once the cement had hardened for 24 hours, I cut the inside ends off flush with the inside surface and polished them. Then I used Tamiya’s
Transparent Orange to represent the amber lenses of the prototype. |
 |
(5) Here’s the cockpit floor. I used the kit part with bits from the AMUR Reaver set and a couple of different Eduard sets to
better represent a prototype Mustang. |
 |
(6) Here’s the reason that I tracked down the AMUR Reaver photoetch set: the parts for the
tail warning radar system. I still need to polish the styrene around the added parts a bit more. |
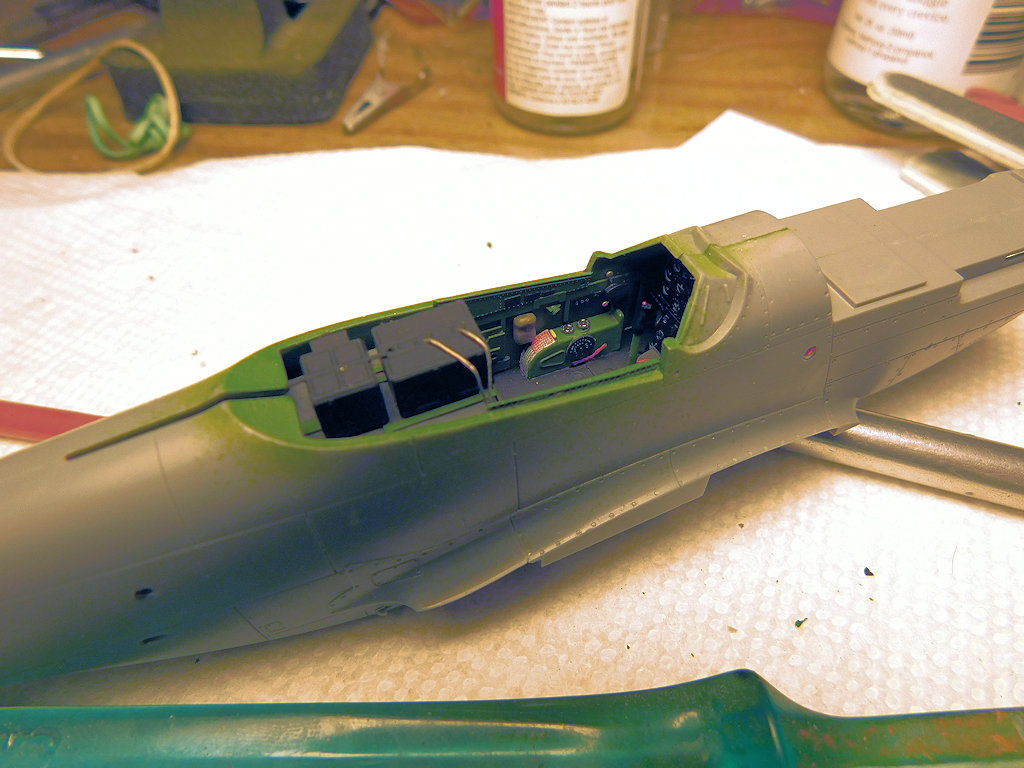 |
(7) I’ve closed up the fuselage. You can see a bit of the cockpit detail and the wiring that I added to the
radio. You can also see the outside of the fuselage formation lights. |
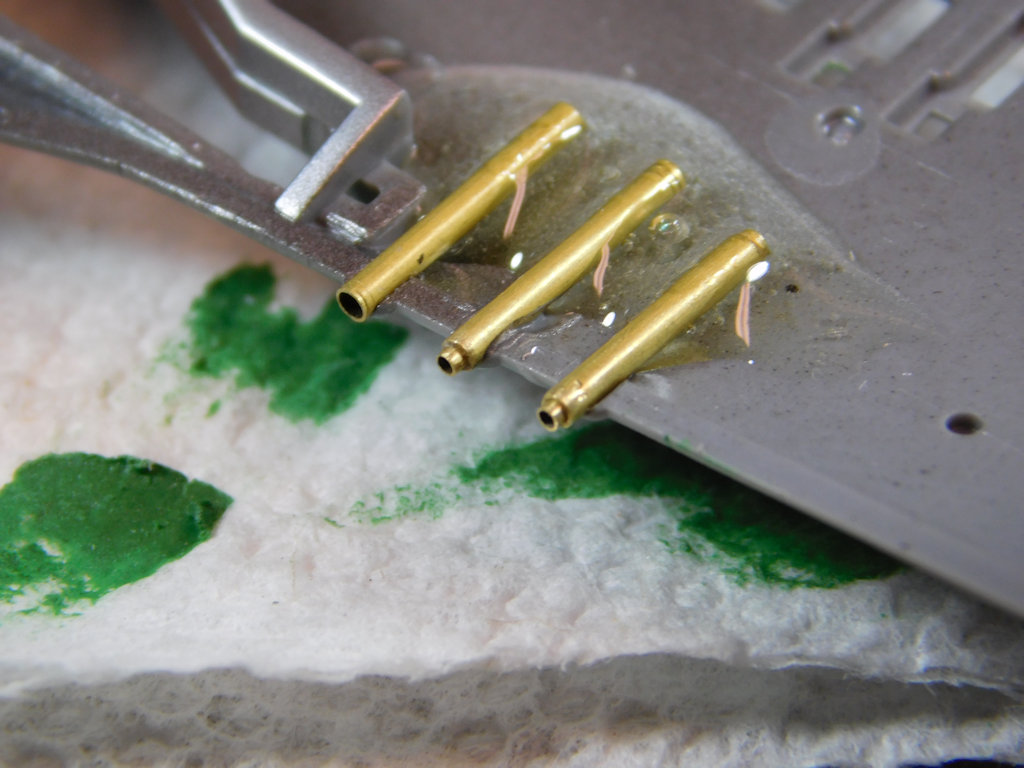 |
(8) Having closed up the fuselage, I turned my attention to the wings. The first thing that I did was to remove the
plastic blobs that represented the gun barrels and replaced them with nested tubing. The outboard barrels were made by nesting
1.2mm, 1.0mm, and 0.80mm tubing. I then expoxied them into the wing. |
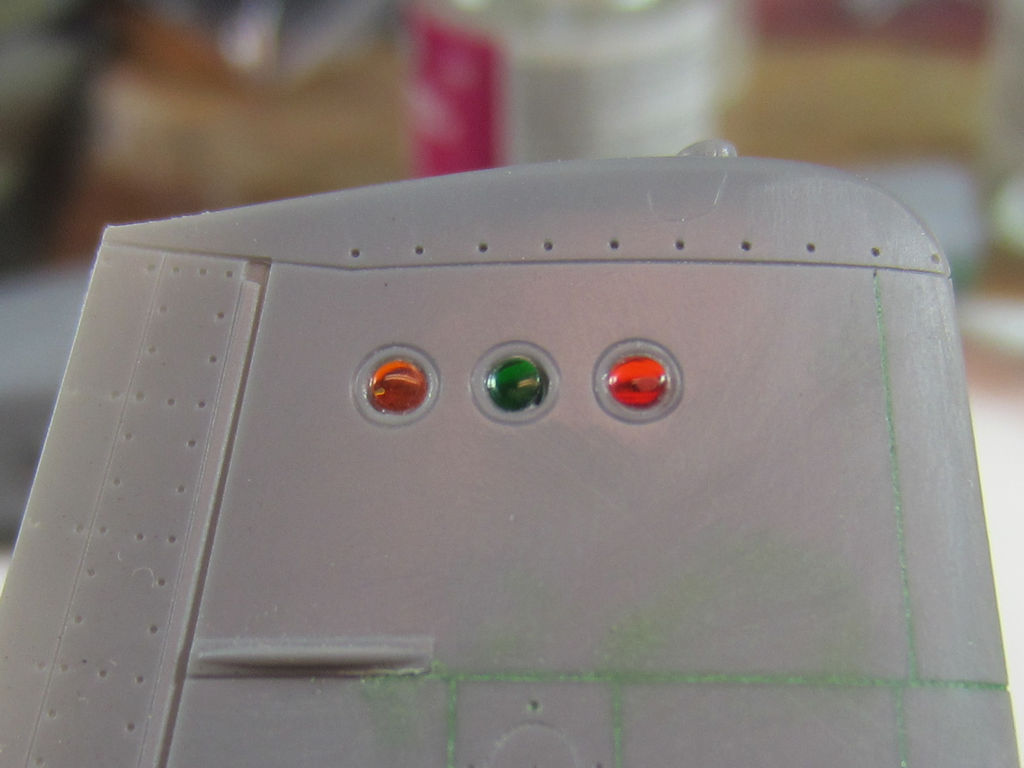 |
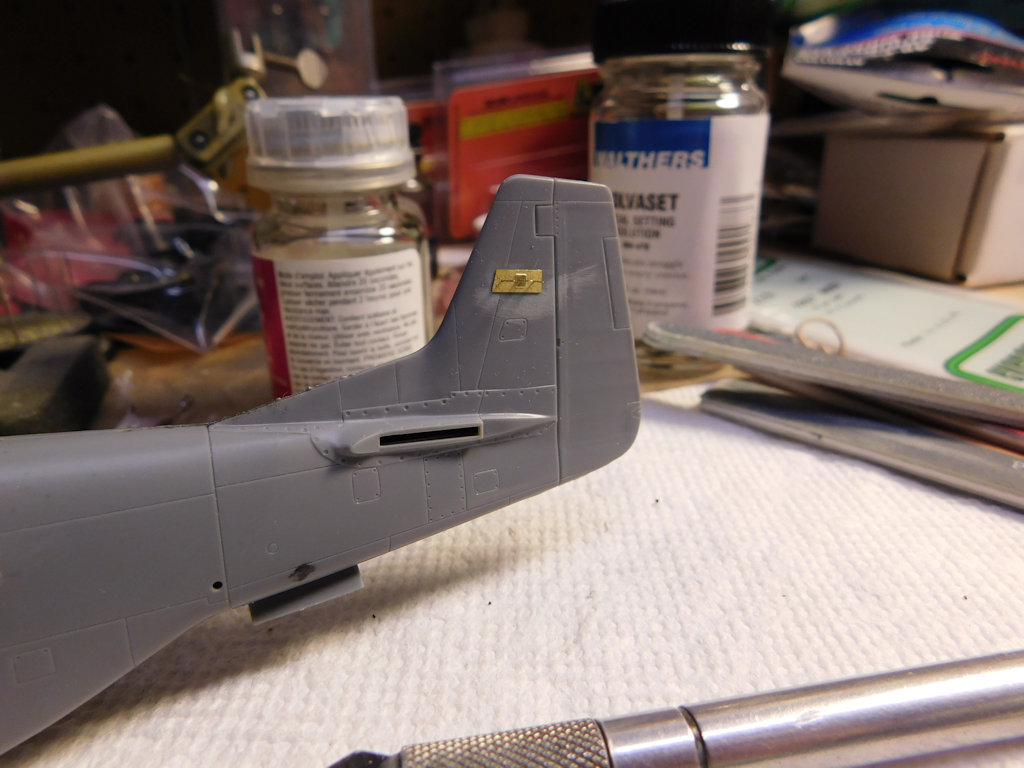
(9) As I have on all my Mustang builds, I drilled out the formation lights under the right wing and
used 1/16" clear styrene rod to make lenses. They were colored with Tamiya clear colors. |
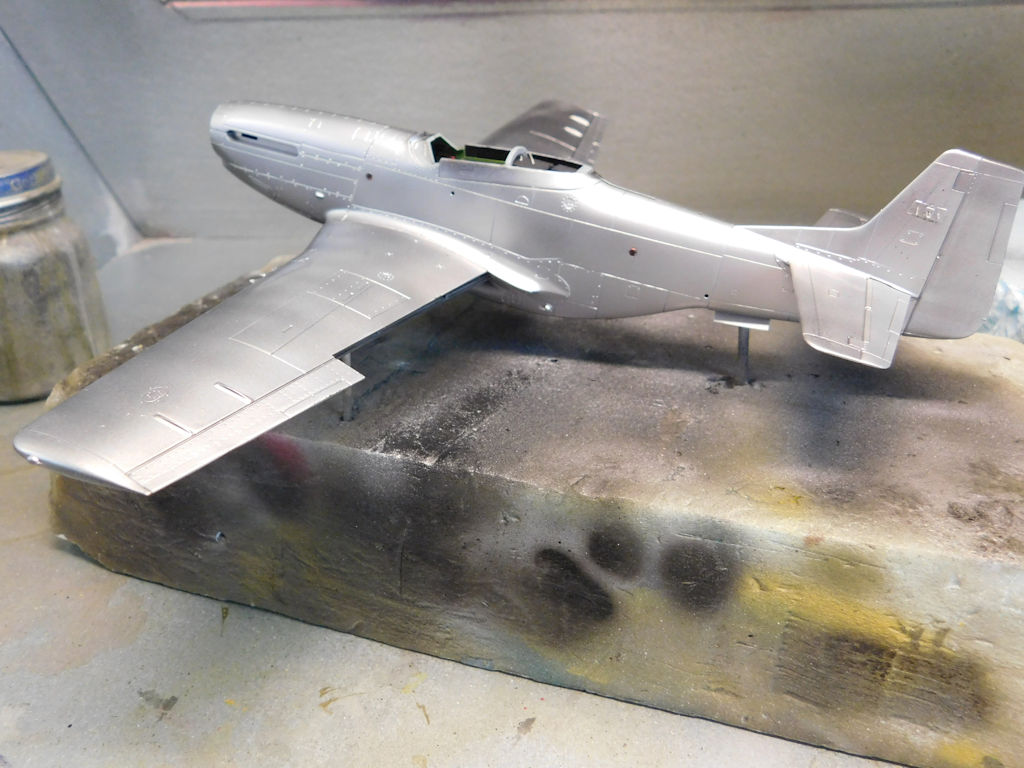 |
(10) This is my third attempt at a natural metal finish. It’s not quite done — I need to add a few contrasting
panels — but I’m happy with it so far. The fuselage was painted with Alclad Aluminum, the wings with Mr. Color Super
Silver, and the control surfaces with Alclad Semi Matte Aluminum. |
 |
(11) In this shot, I’ve painted the panel around the exhausts with Alclad Magnesium. I copied the EagleCals decal
sheet onto a plain piece of paper to make a paper template for the yellow part of the squadron markings. I taped that into place and masked
around the edges with Tamiya masking tape. The nose then got a coat of Model Masters Insignia Yellow. That was allowed to dry. I then turned
my attention to the antiglare panel in front of the cockpit. My first impression upon looking at photo 2 was that it was black. The more I
looked at it, though, the more that I could see a difference between the antiglare panel and the background of the nude. After much
contemplation (and a trip to the hobby shop to examine the various options for olive drab), I settled on Vallejo’s Olive Drab. Then the yellow
was overcoated with Future and, when it was dry, I applied the red checkerboard decals from the EagleCal set. |
 |
(12) Once I got the checkboards on, it was time to paint the spinner. It turns out that Testors #1103 Red (the stuff that
comes in the little square bottles) is an excellent match to the red on the EagleCals decals. While the spinner was drying, I applied the
decals and added the canopy. |
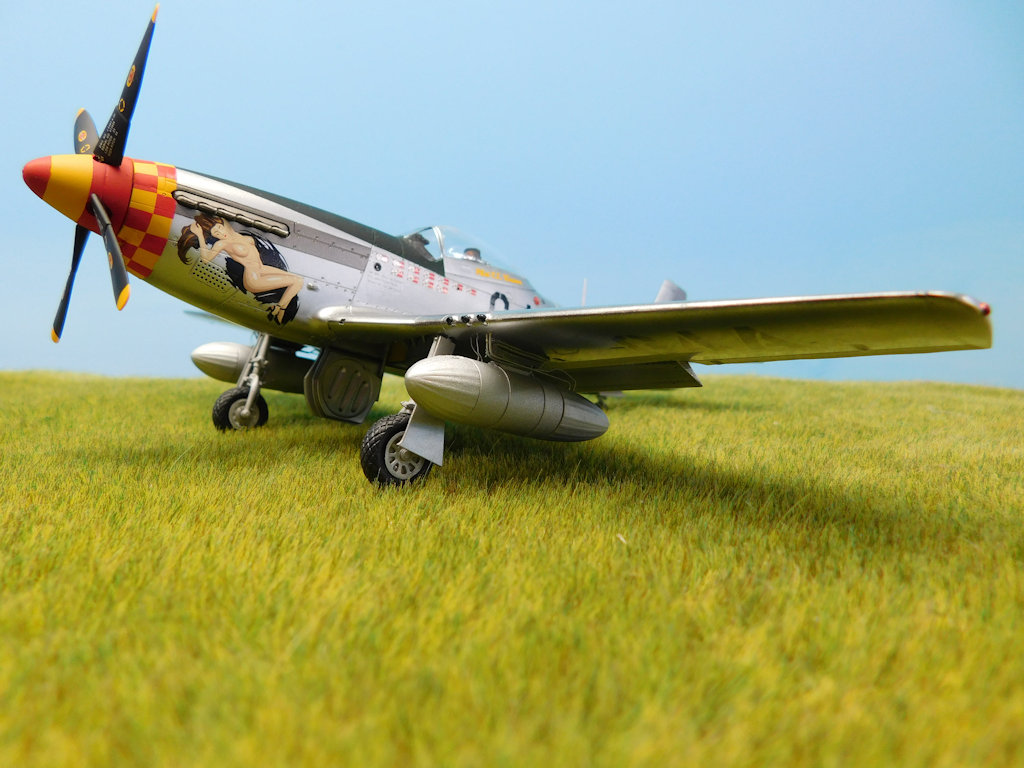 |
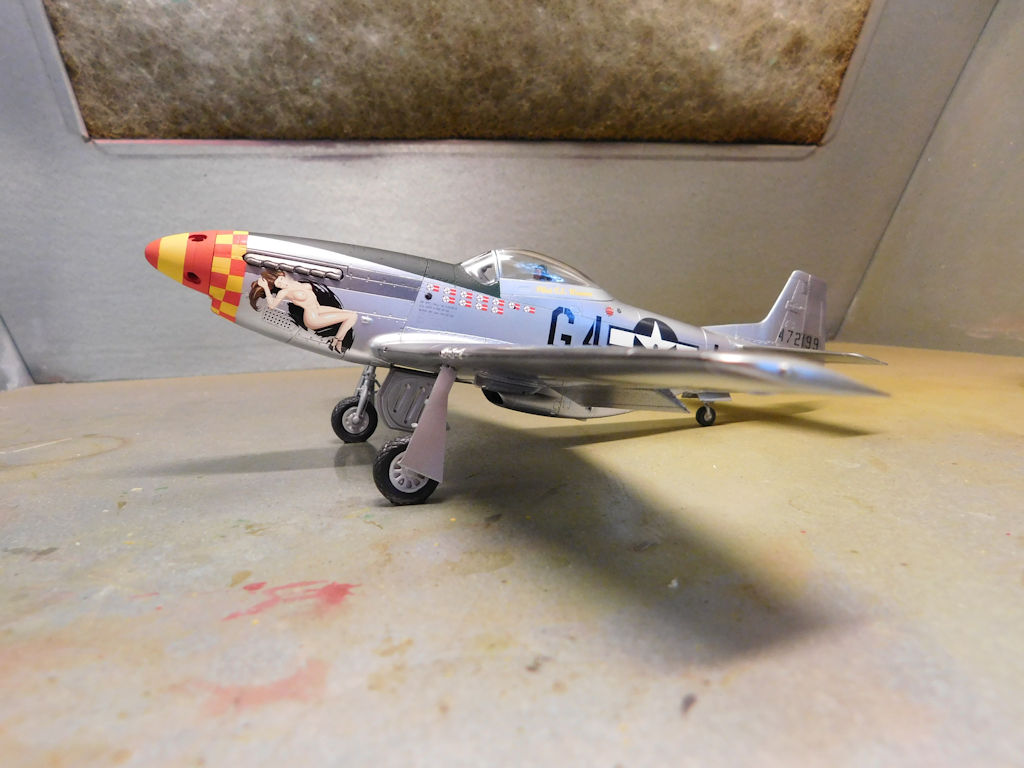
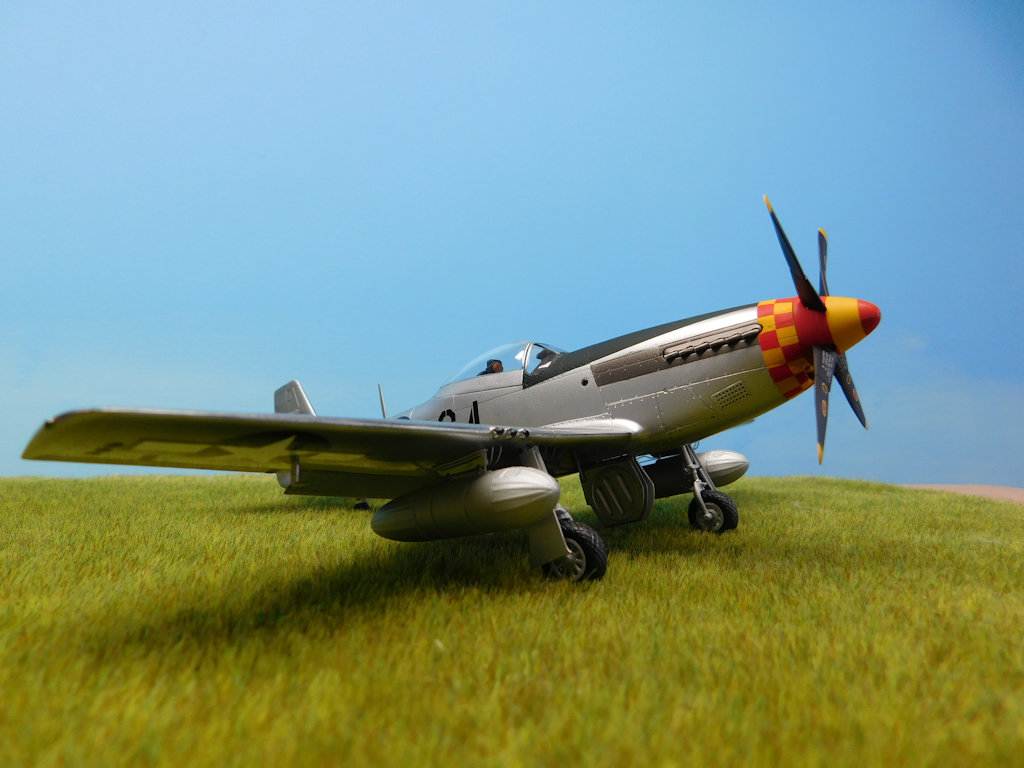
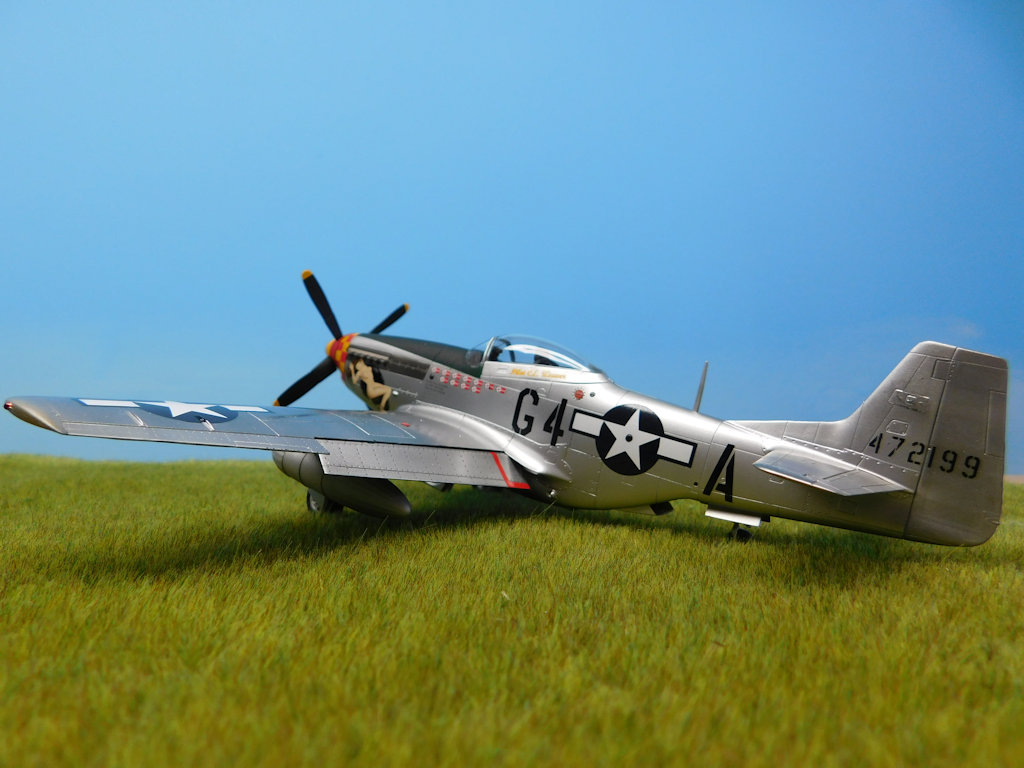
(13) The external fuel tanks were the last things I added. This project is now done. Photos 14 and 15 show other views of the aircraft. |
 |
(14) |
 |
(15) |
|
[home]
[trek]
[space]
[camel]
[p-51]
[vega]
[C&O]
[professional]
|